Raise your hand if you are currently focused on all things 1. organization (read: watches Marie Kondo’s Tidying Up once and purges everything) and 2. wellness. Today’s fun DIY with Monika Hibbs sort of combines those two goals making it extra satisfying. You know that drawer full of all the pretty glass candle jars you can’t seem to part with because the branding is just too good? It’s time to put them to use. Grab the details below!
We’re also celebrating the launch of Monika’s newest page, MH Wellness. As one of our go-to entertaining experts, we look to her for so much inspiration and we cannot wait to see the conversations she starts in this new space. Follow along at @mh.wellness to join in!
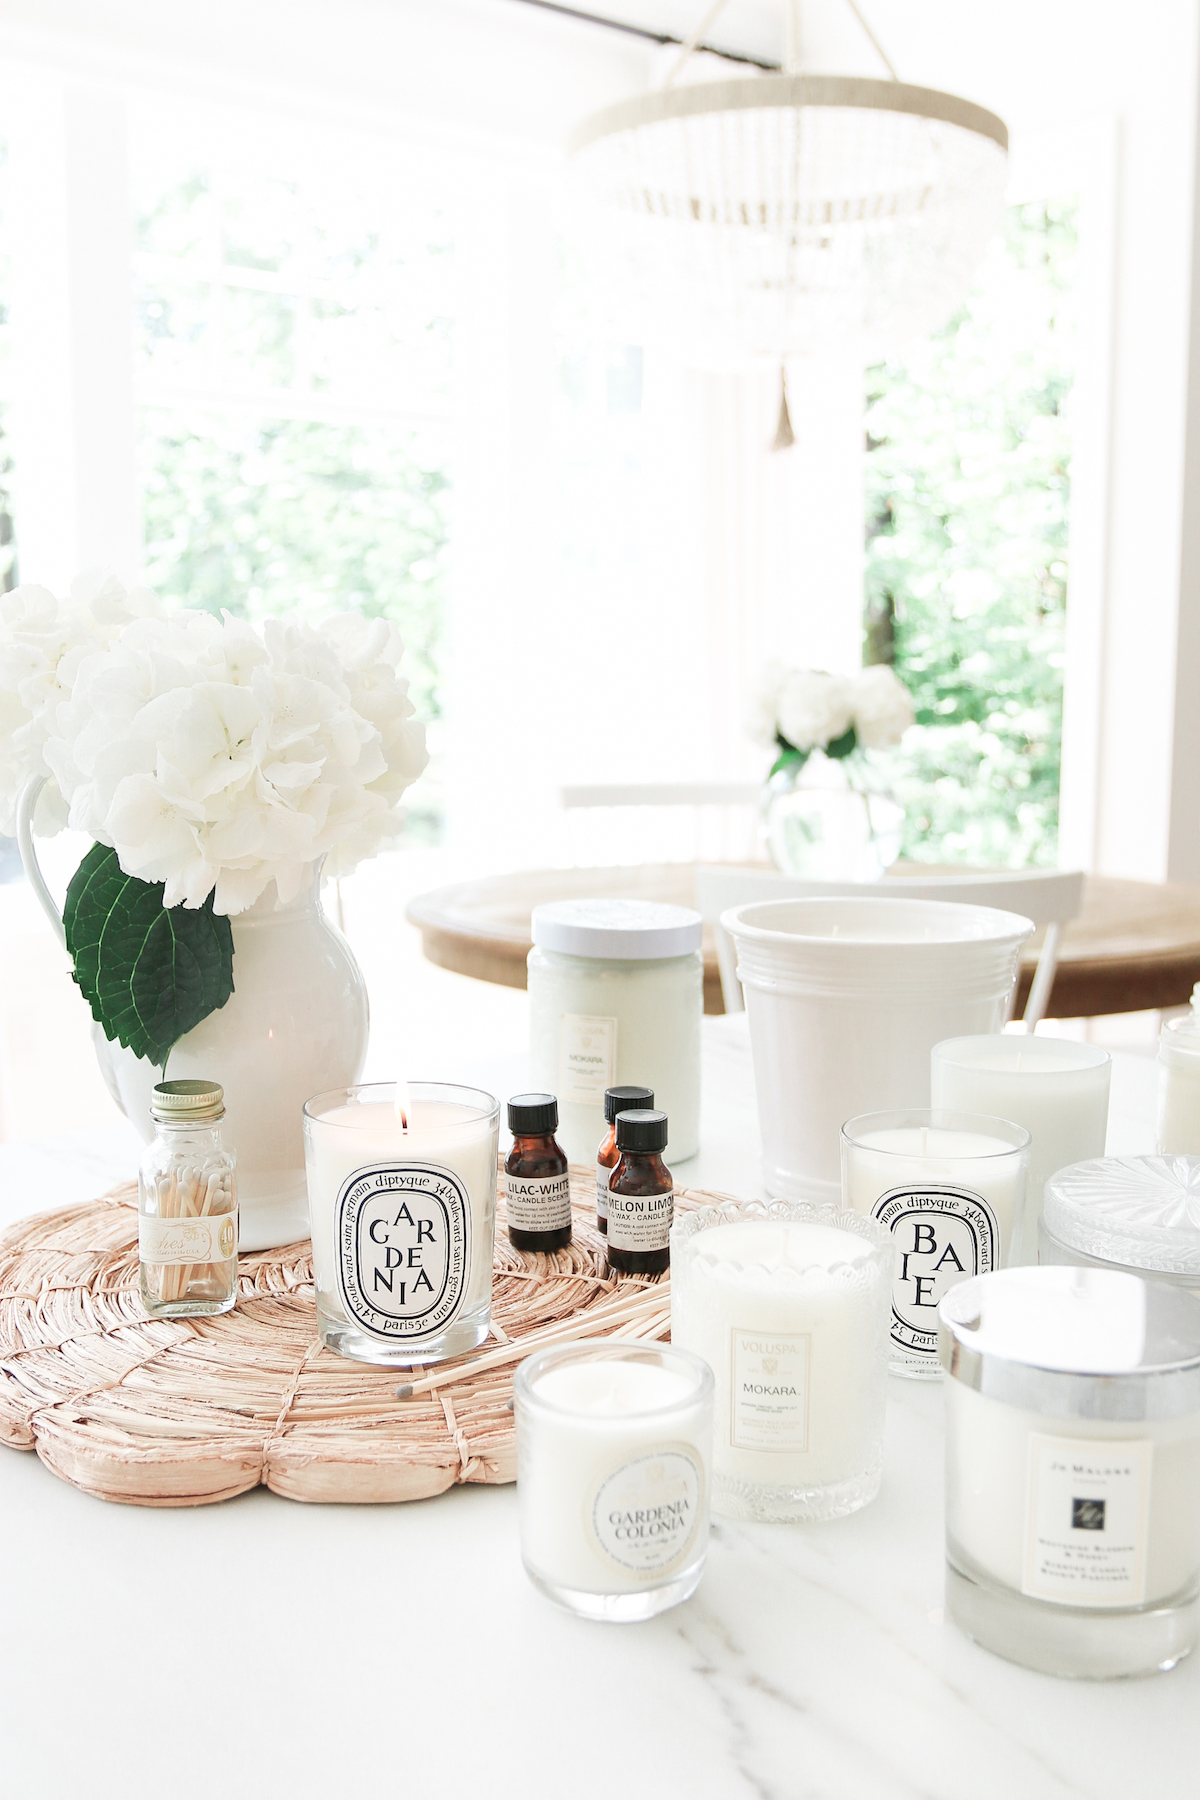
From Monika Hibbs… I love candles, seriously love. I don’t feel like any space is complete without at least one! But what about those candles that you buy solely for the pretty packaging? I’m sure most of you buy the fancy or expensive candles and don’t even burn them for the fear of wasting them. (FOWAC = Fear of Wasting a Candle). But then the day comes, you finally bring yourself to burn that gorgeous diptique candle. Burn it daily, or perhaps savour it and only burn for special occasions. And then all good things come to an end, your candle is burnt down and gone. Now what to do with that beautiful jar? I’ve used a lot of my jars to store q-tips, makeup brushes and even as bud vases for my favourite blooms. But there are only so many I can have on my counter until they start to take over.
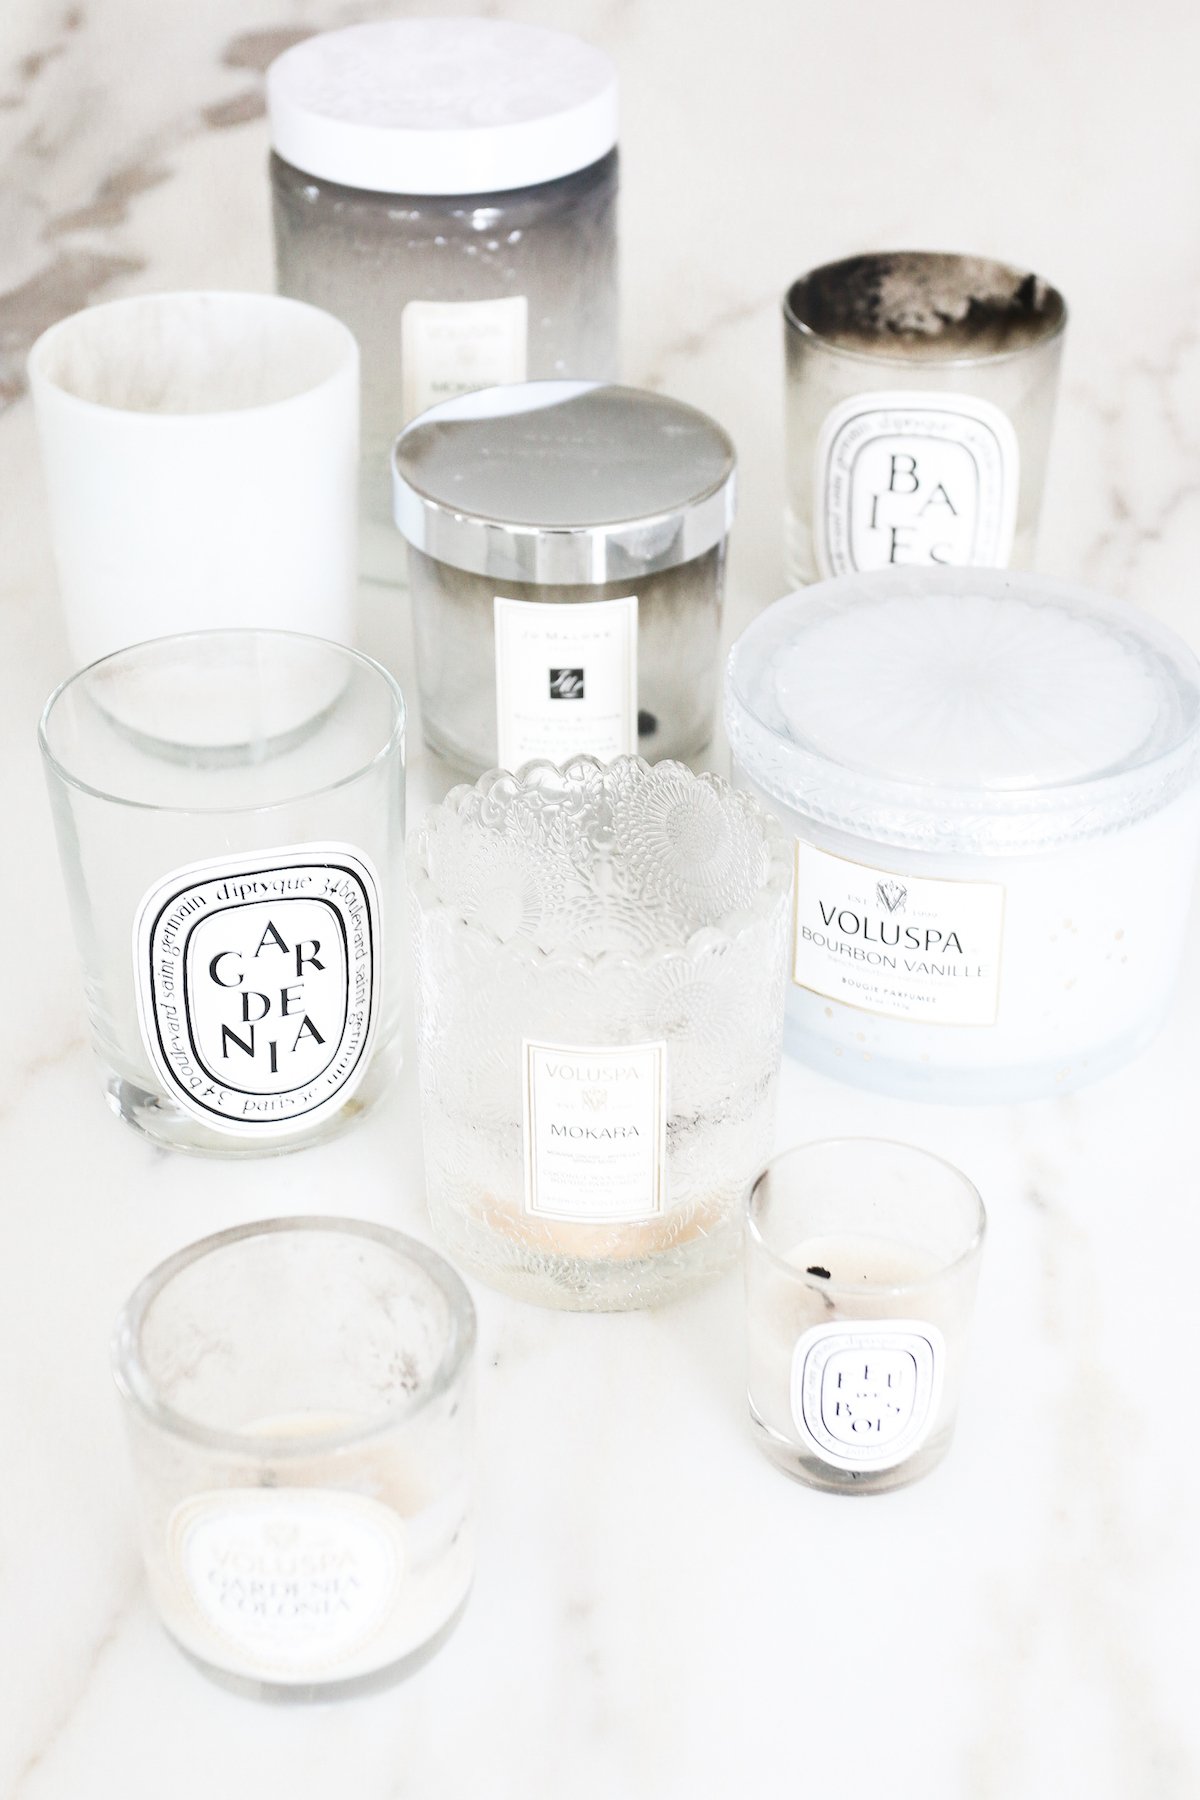
I am also guilty of purchasing candles simply for their container. Please tell me I’m not the only one! I always choose my favourite scent of course, but I just love the classic look of the beautiful branding of my favourite candle companies. Major candle crush on diptique and adore their classic branded labels. Never will I throw away a candle jar.. and neither should you thanks to this candle making DIY. (Throwing in a tea light candle doesn’t count… I’m guilt of that!)
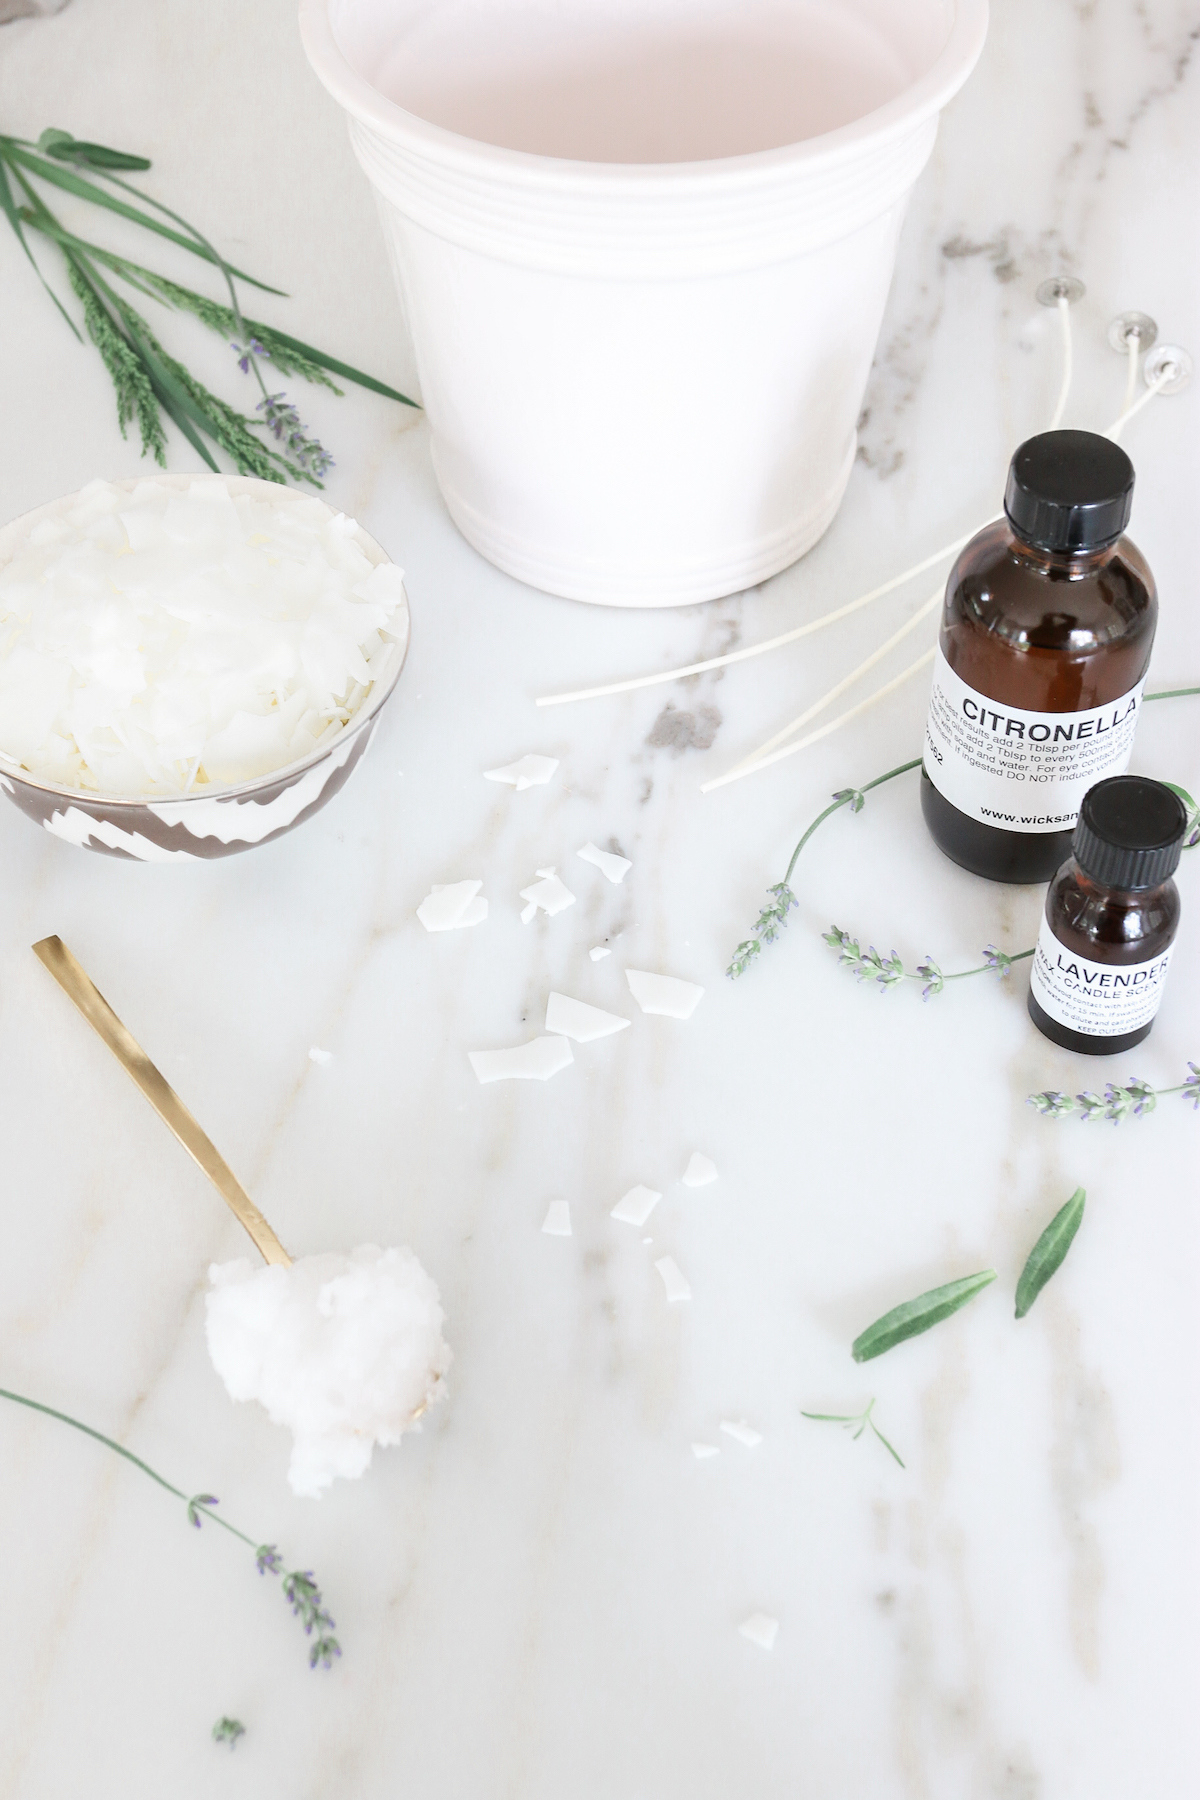
This was my first time I made my own candle replacements and I’m officially hooked. I used soy wax and personalized them with my favourite scents. I even made a giant outdoor citronella and lavender candle to keep the mosquitos away, the natural African citronella grass is out of control!
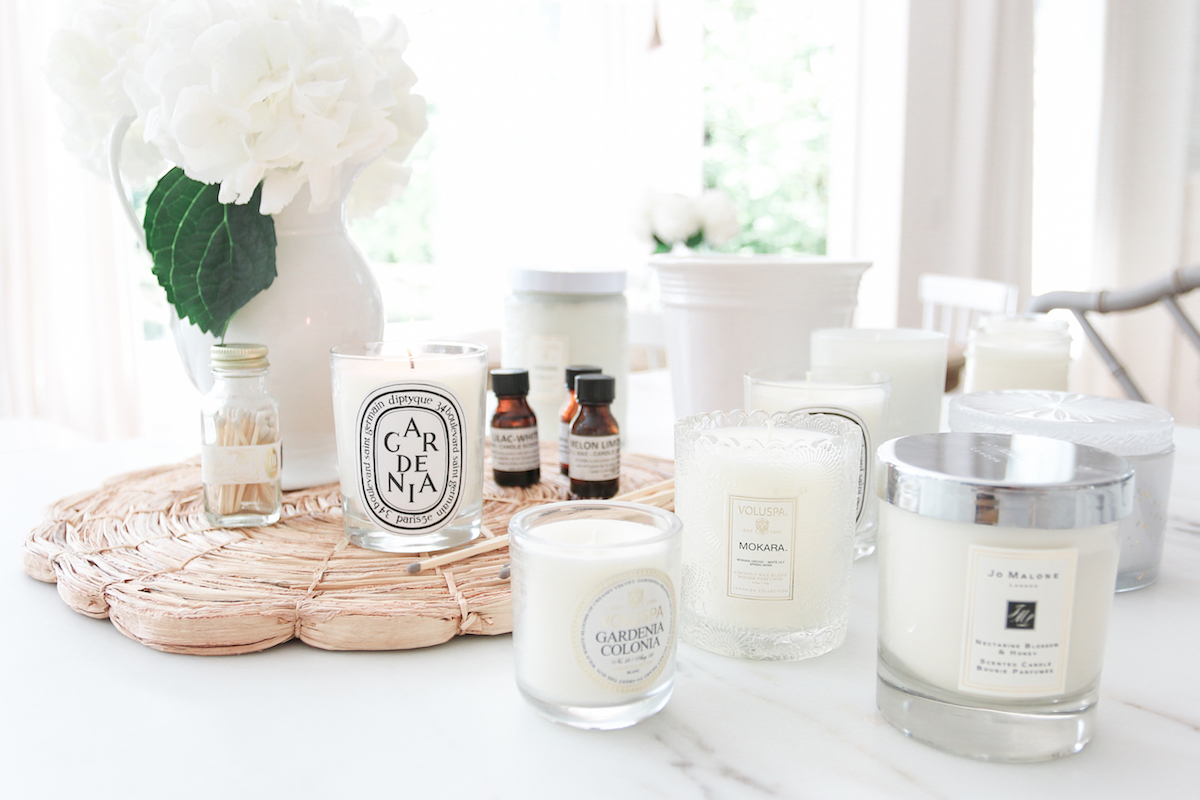
You won’t believe how simple and fun these candles are to make. If you’re a candle lover like me, your heart will skip a beat once you have finished! A dozen fresh new candles in your all time favourite containers coming right up! I had extra wax left over and even poured some into some maison jars kicking around. Easy as pie!
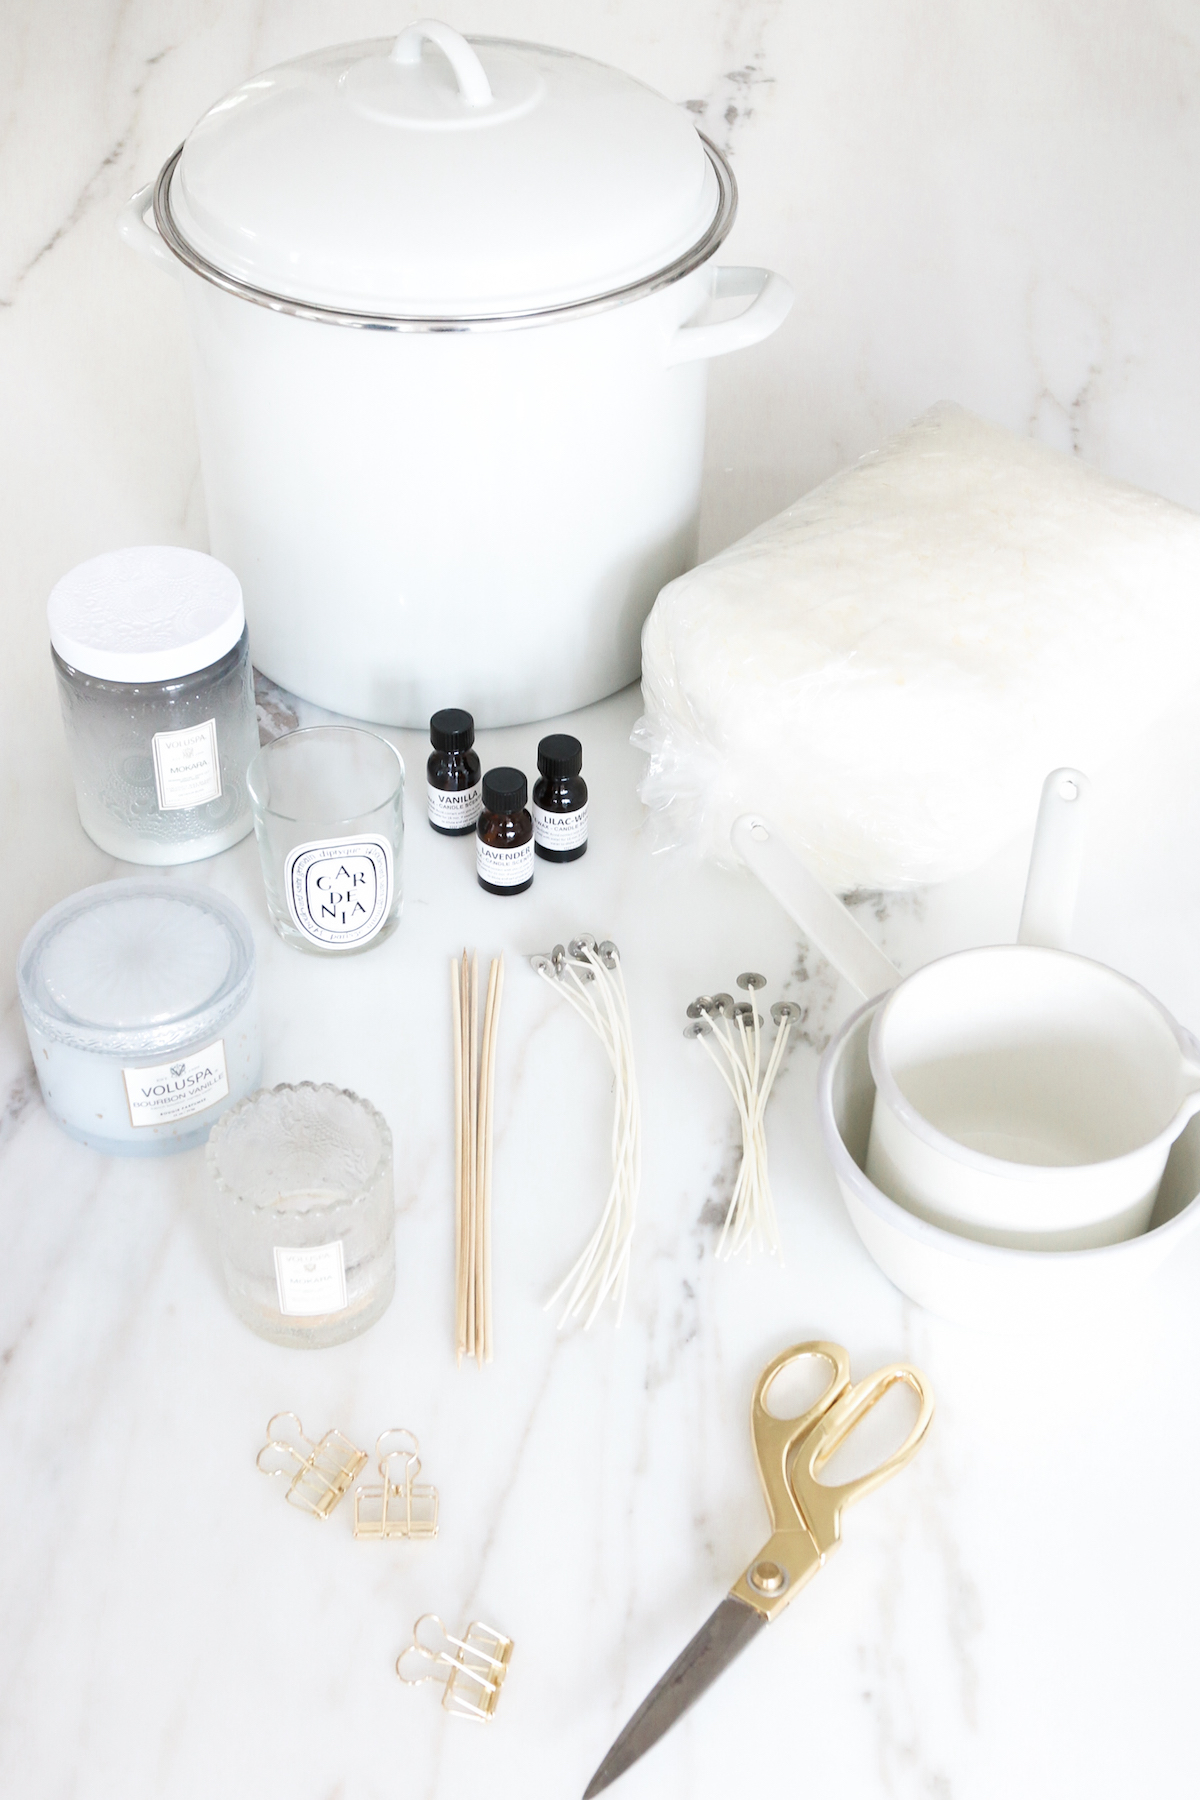
What You’ll Need…
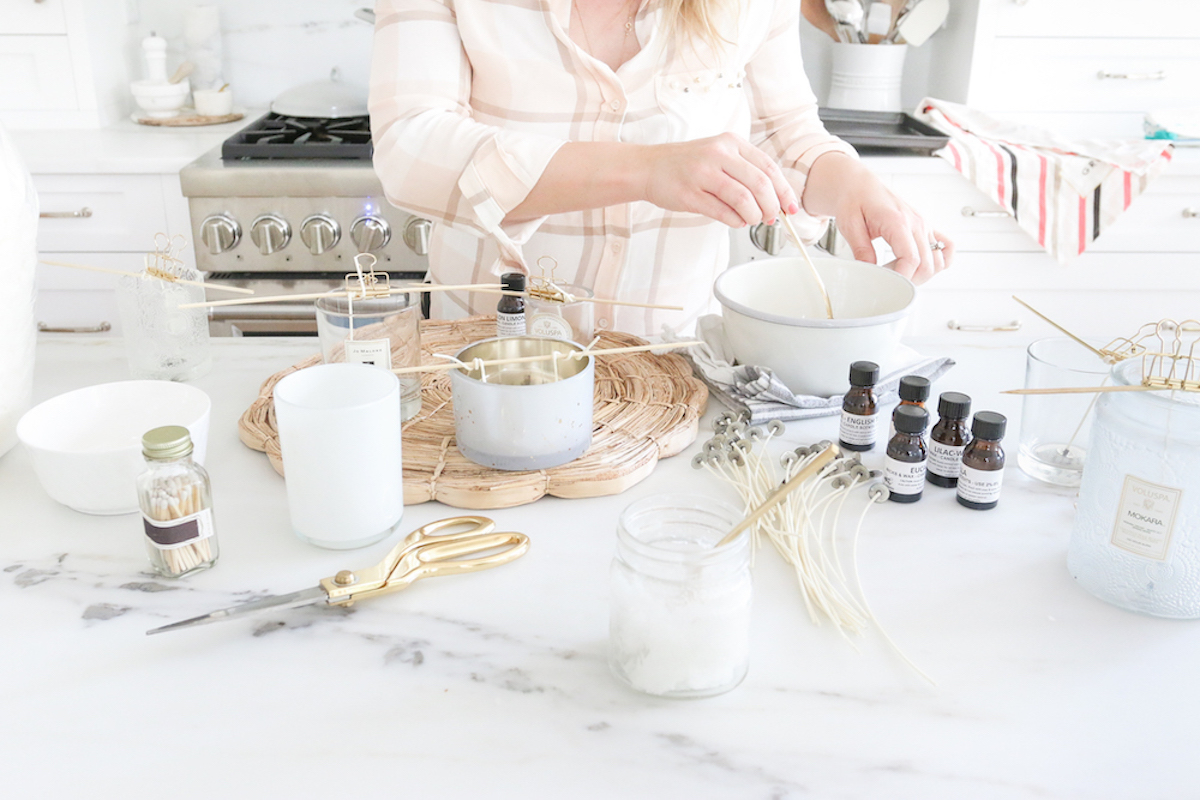
1. Bag of Soy Wax. I found some online here.
2. Pre-waxed natural candle wick, here.
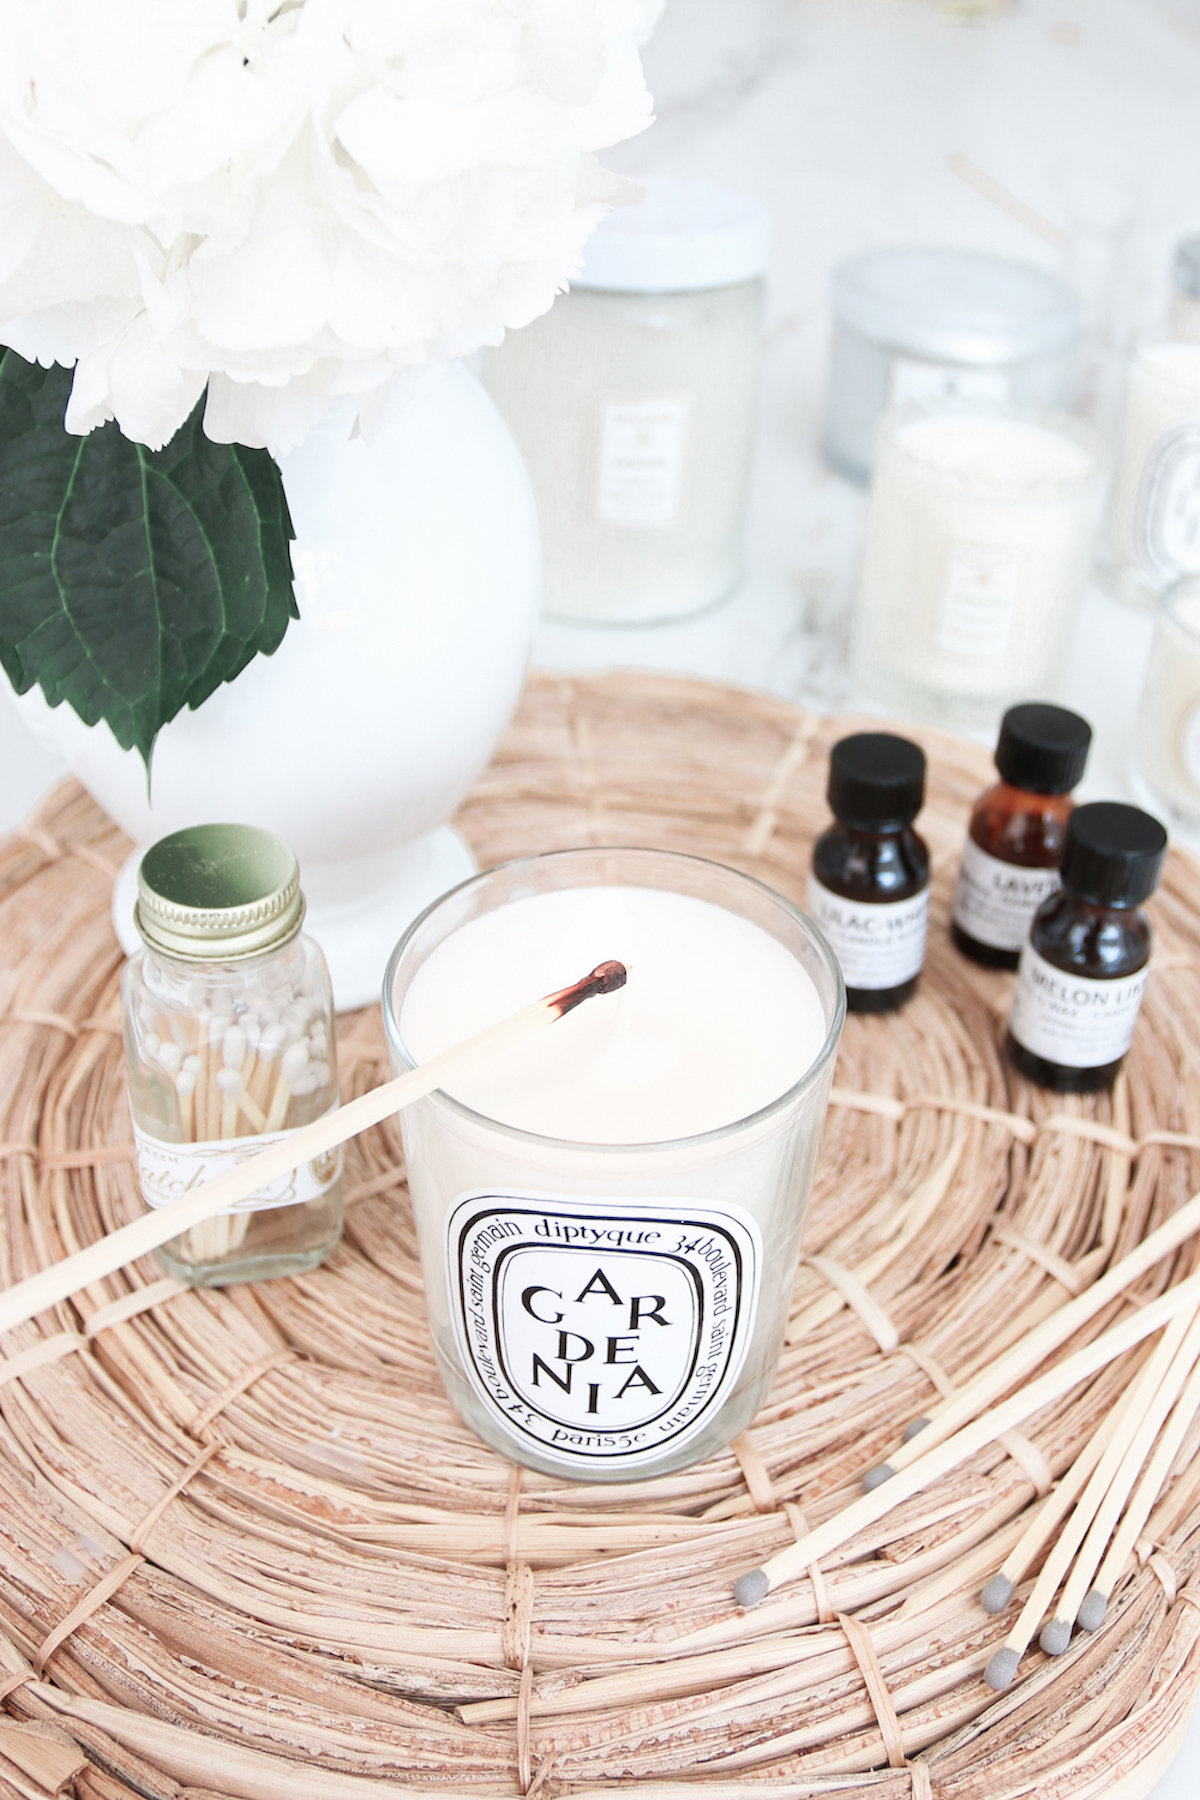
3. Essential oils or fragrances, anyone your heart desires, here. Or, Natural Citronella Essential Oil for your outdoor candle.
4. Empty candle containers, mason jars or small pot for outdoor candles.
5. Wooden picks & clips or these metal centering devices.
6. Large pot and smaller sauce pan.
7. Tin foil & parchment paper.
Step One
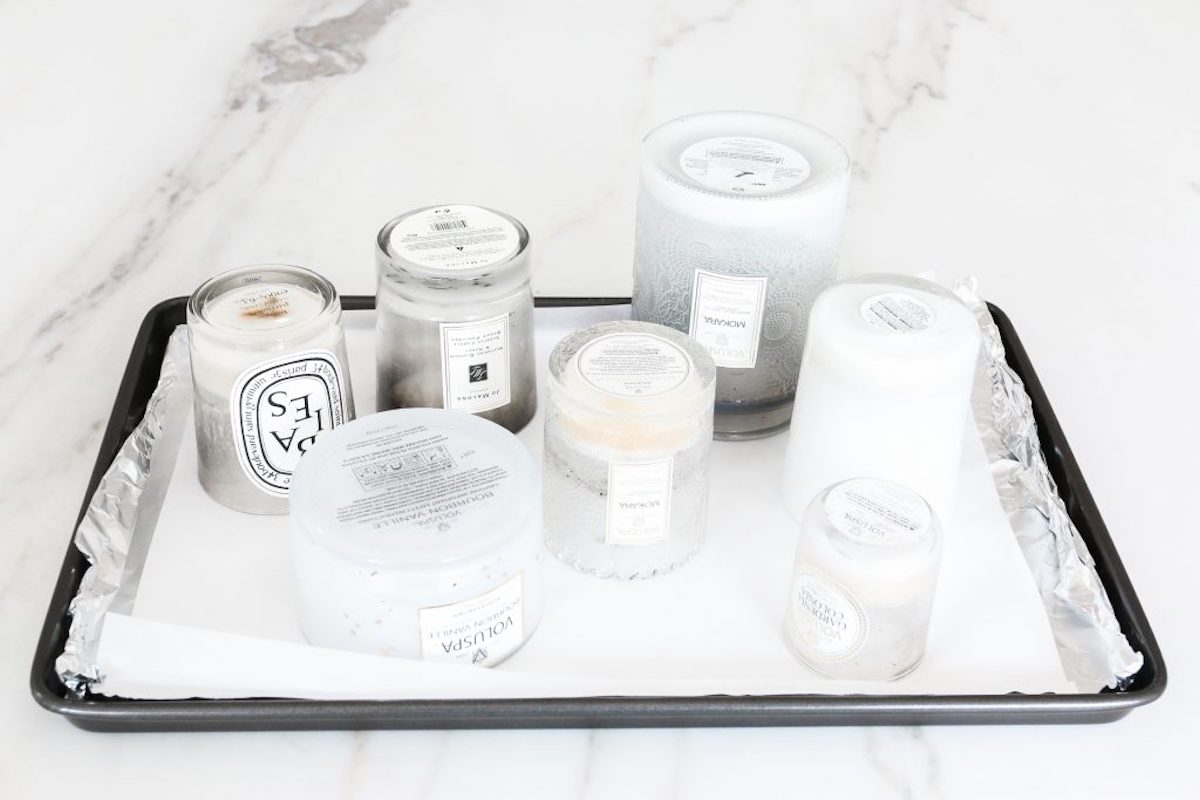
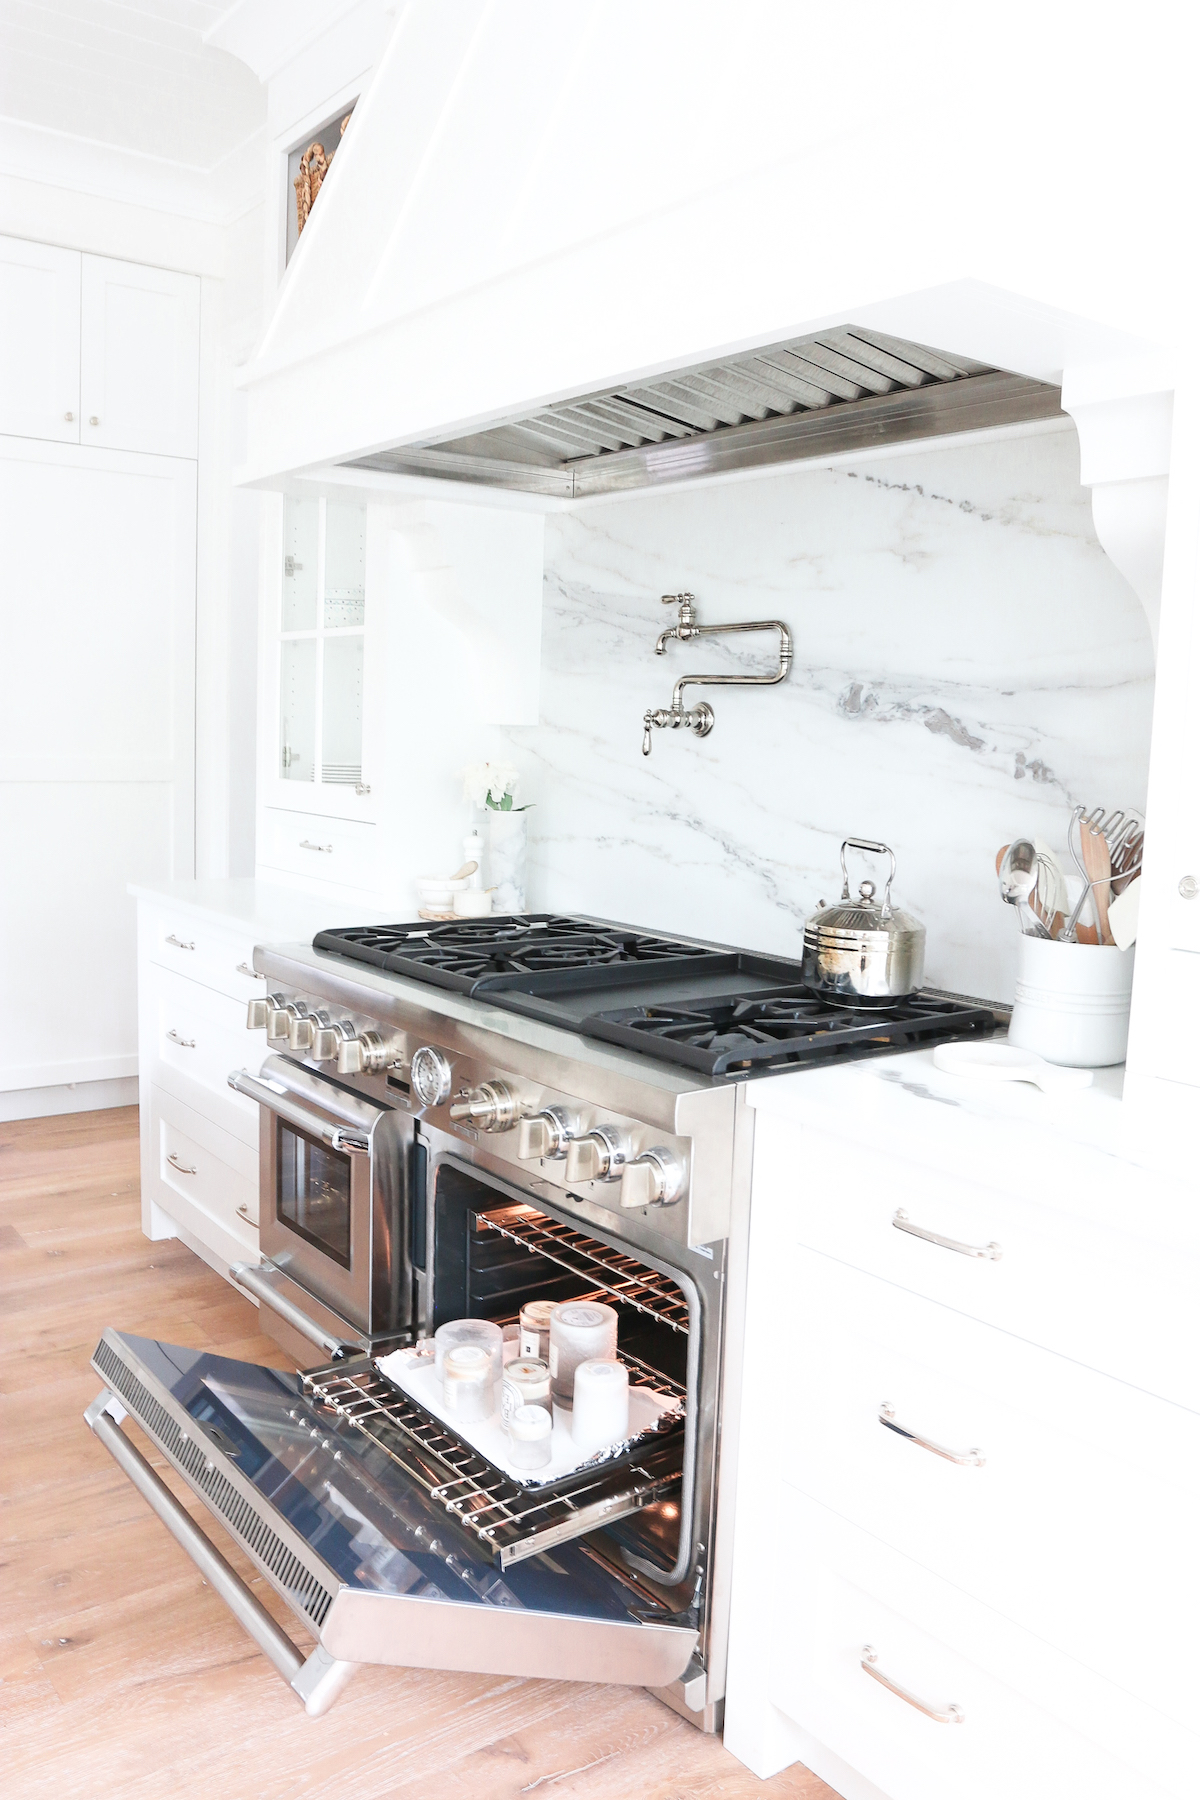
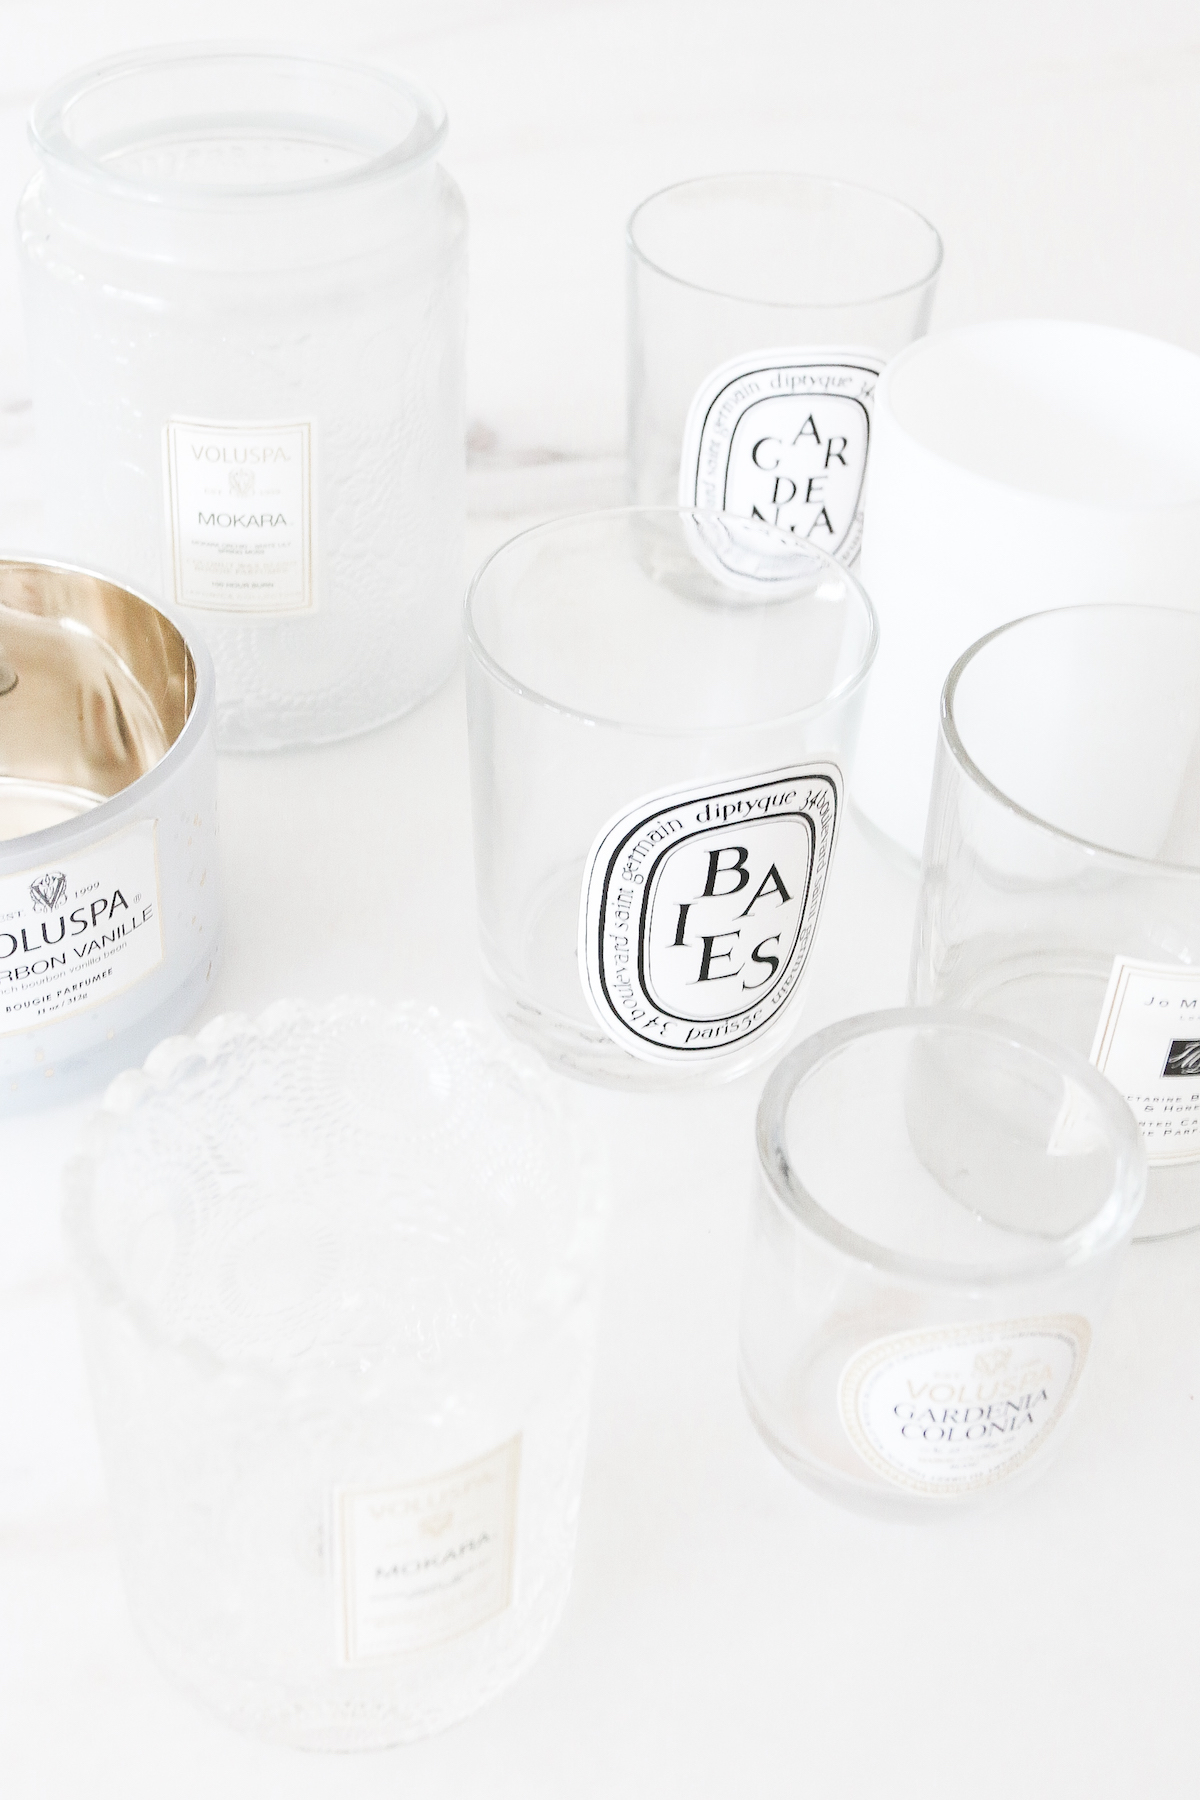
First you should remove any wax that you didn’t burn out of your candle. You’ll do this by placing your candles upside down on a oven pan. Heat your oven to 200 degrees. Line your pan with tin foil and then a layer of parchment paper on top. Fold the edges of the tin foil so the wax doesn’t leak onto your pan—makes for an easy cleanup! Place your candles into the oven for about 10-15 minutes. Watch for the remainder of wax that drops from each container. Depending on the size of container and how much wax was left over remove each one accordingly. Take a paper towel and polish off any excess melted wax. And voila! You’ll be so surprised how clean they get!
Step Two
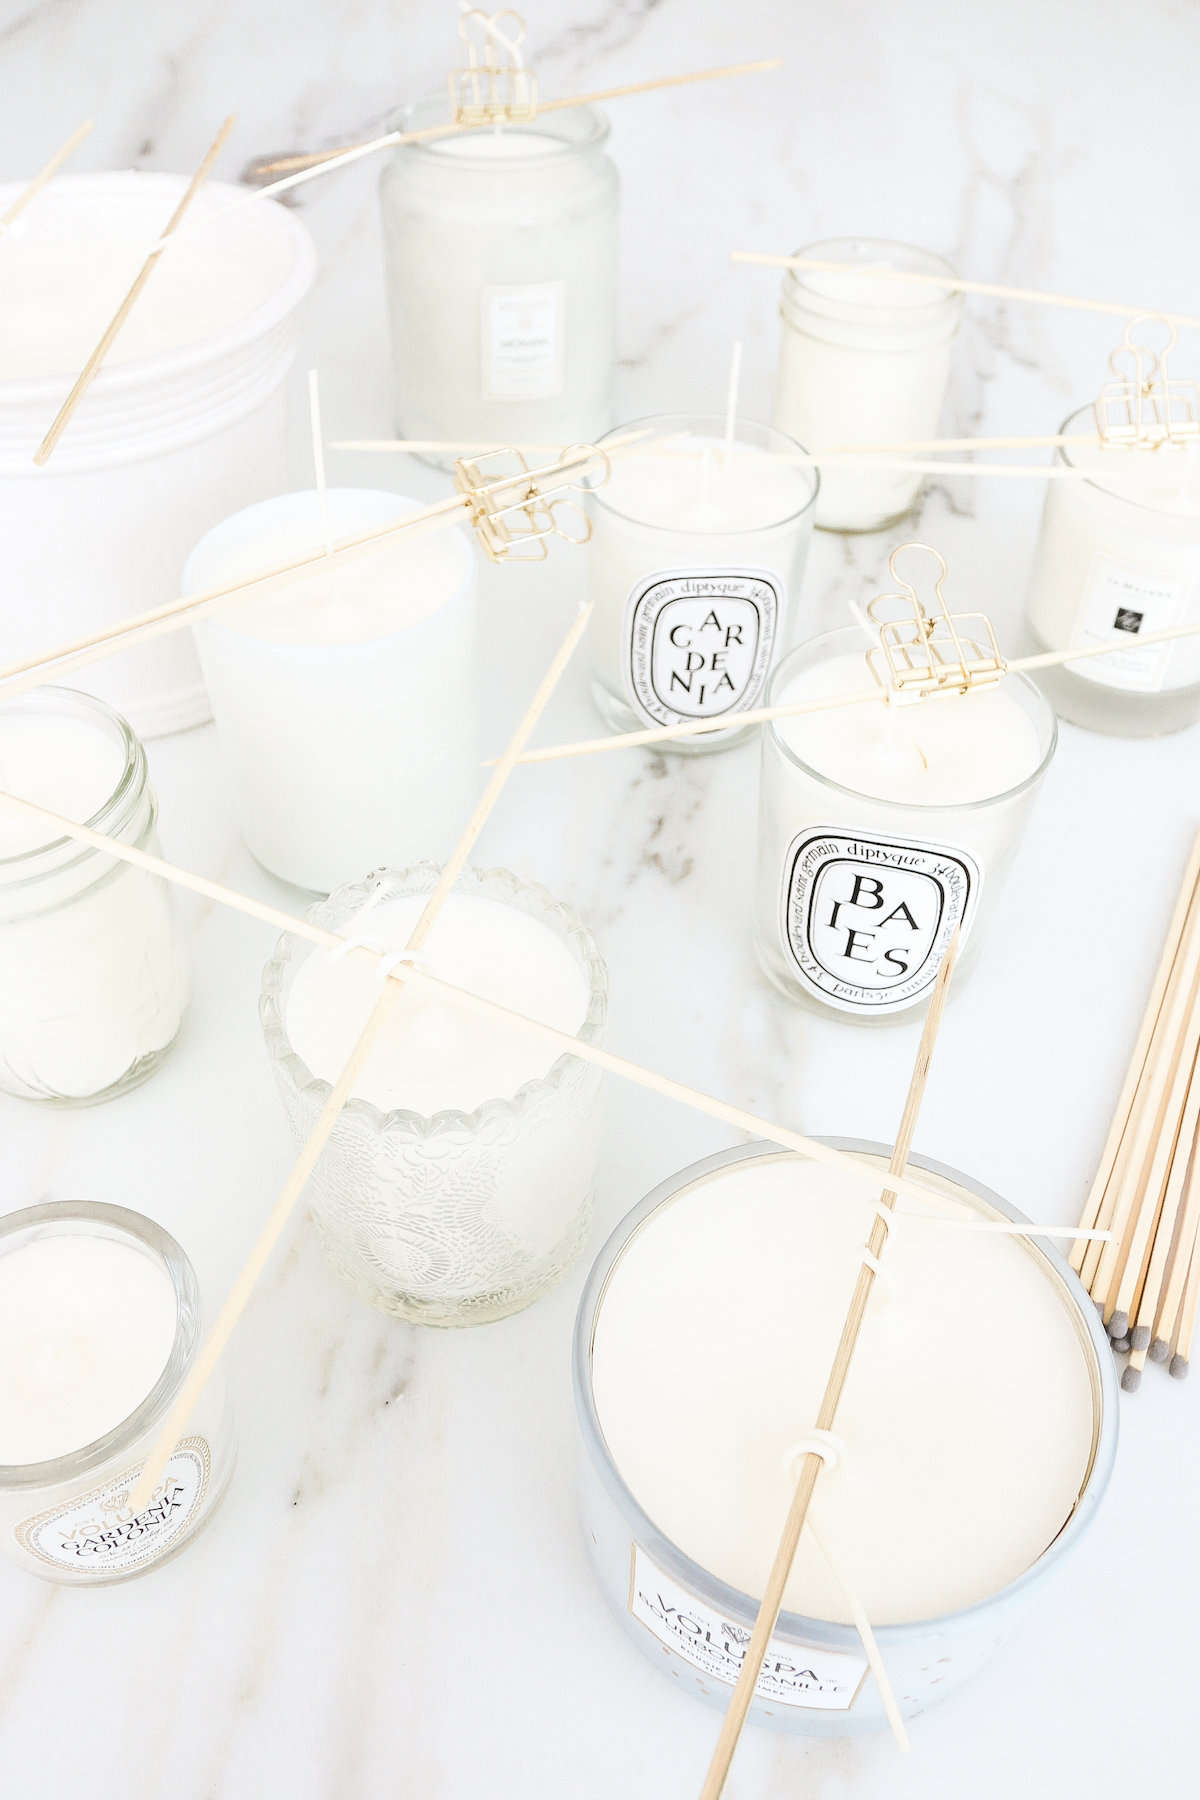
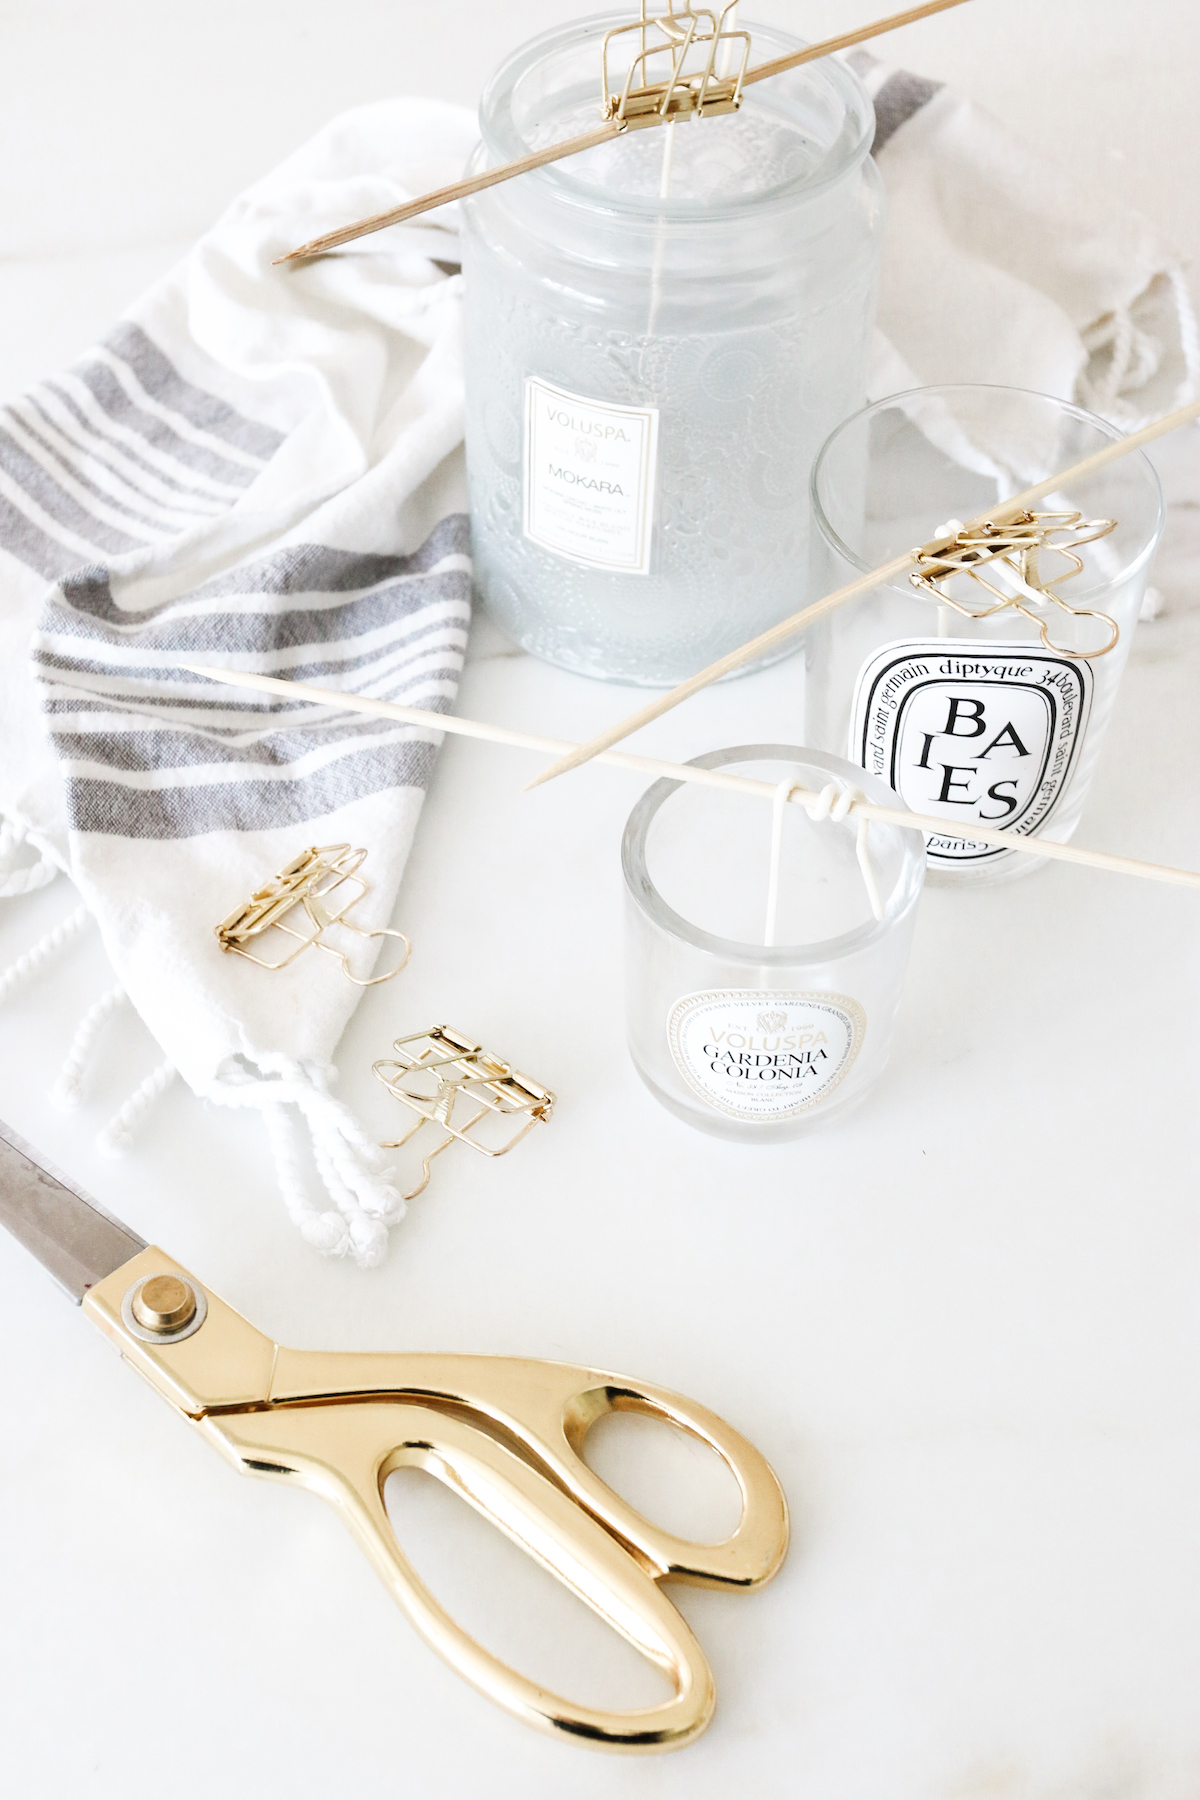
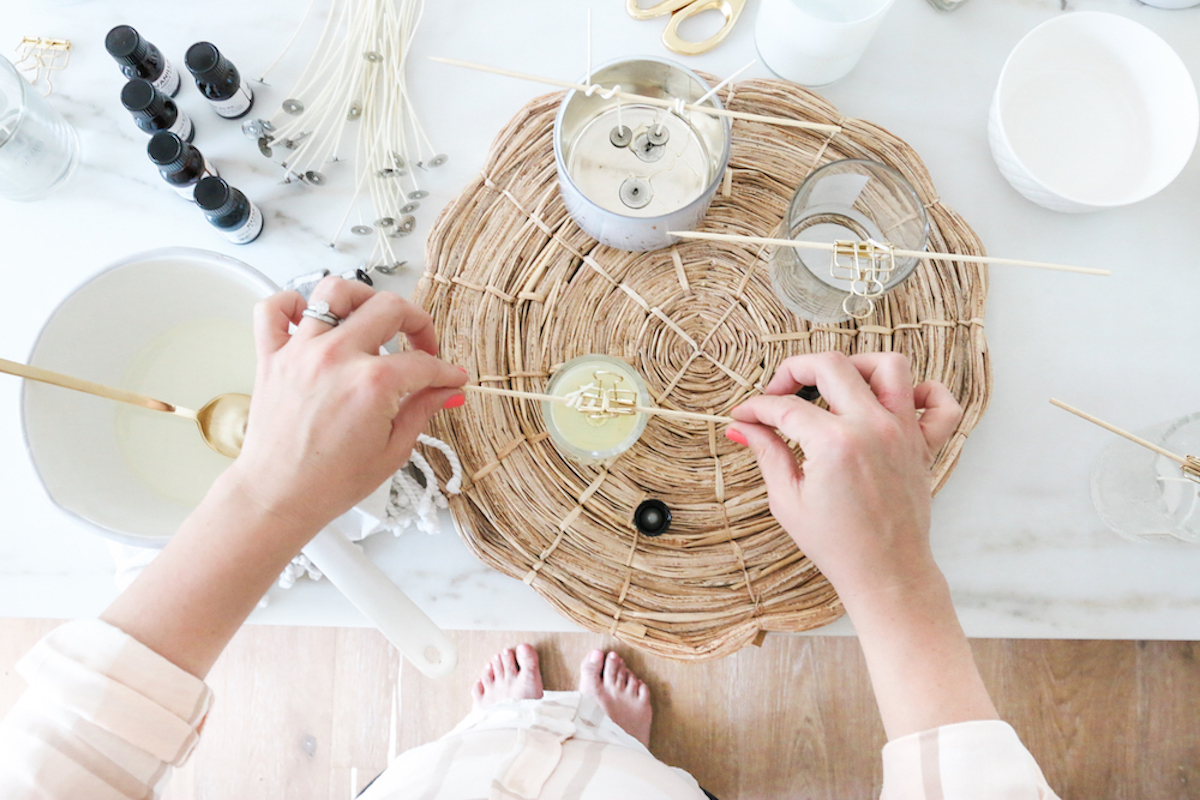
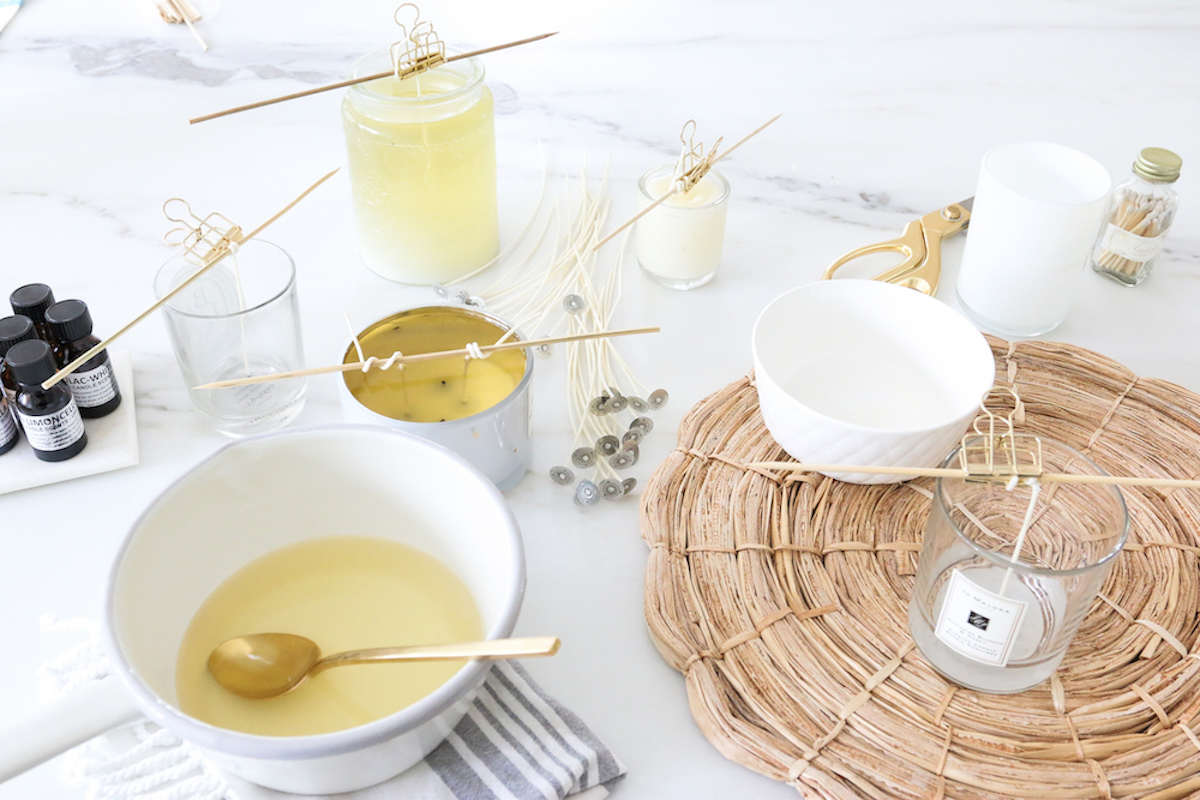
Place 1-4 wicks depending on the size of your jar in each. You can glue these in place as well. Wrap the top of each wick around a wooden stick, or secure with a paper clip. Prepare each container accordingly.
Step Three
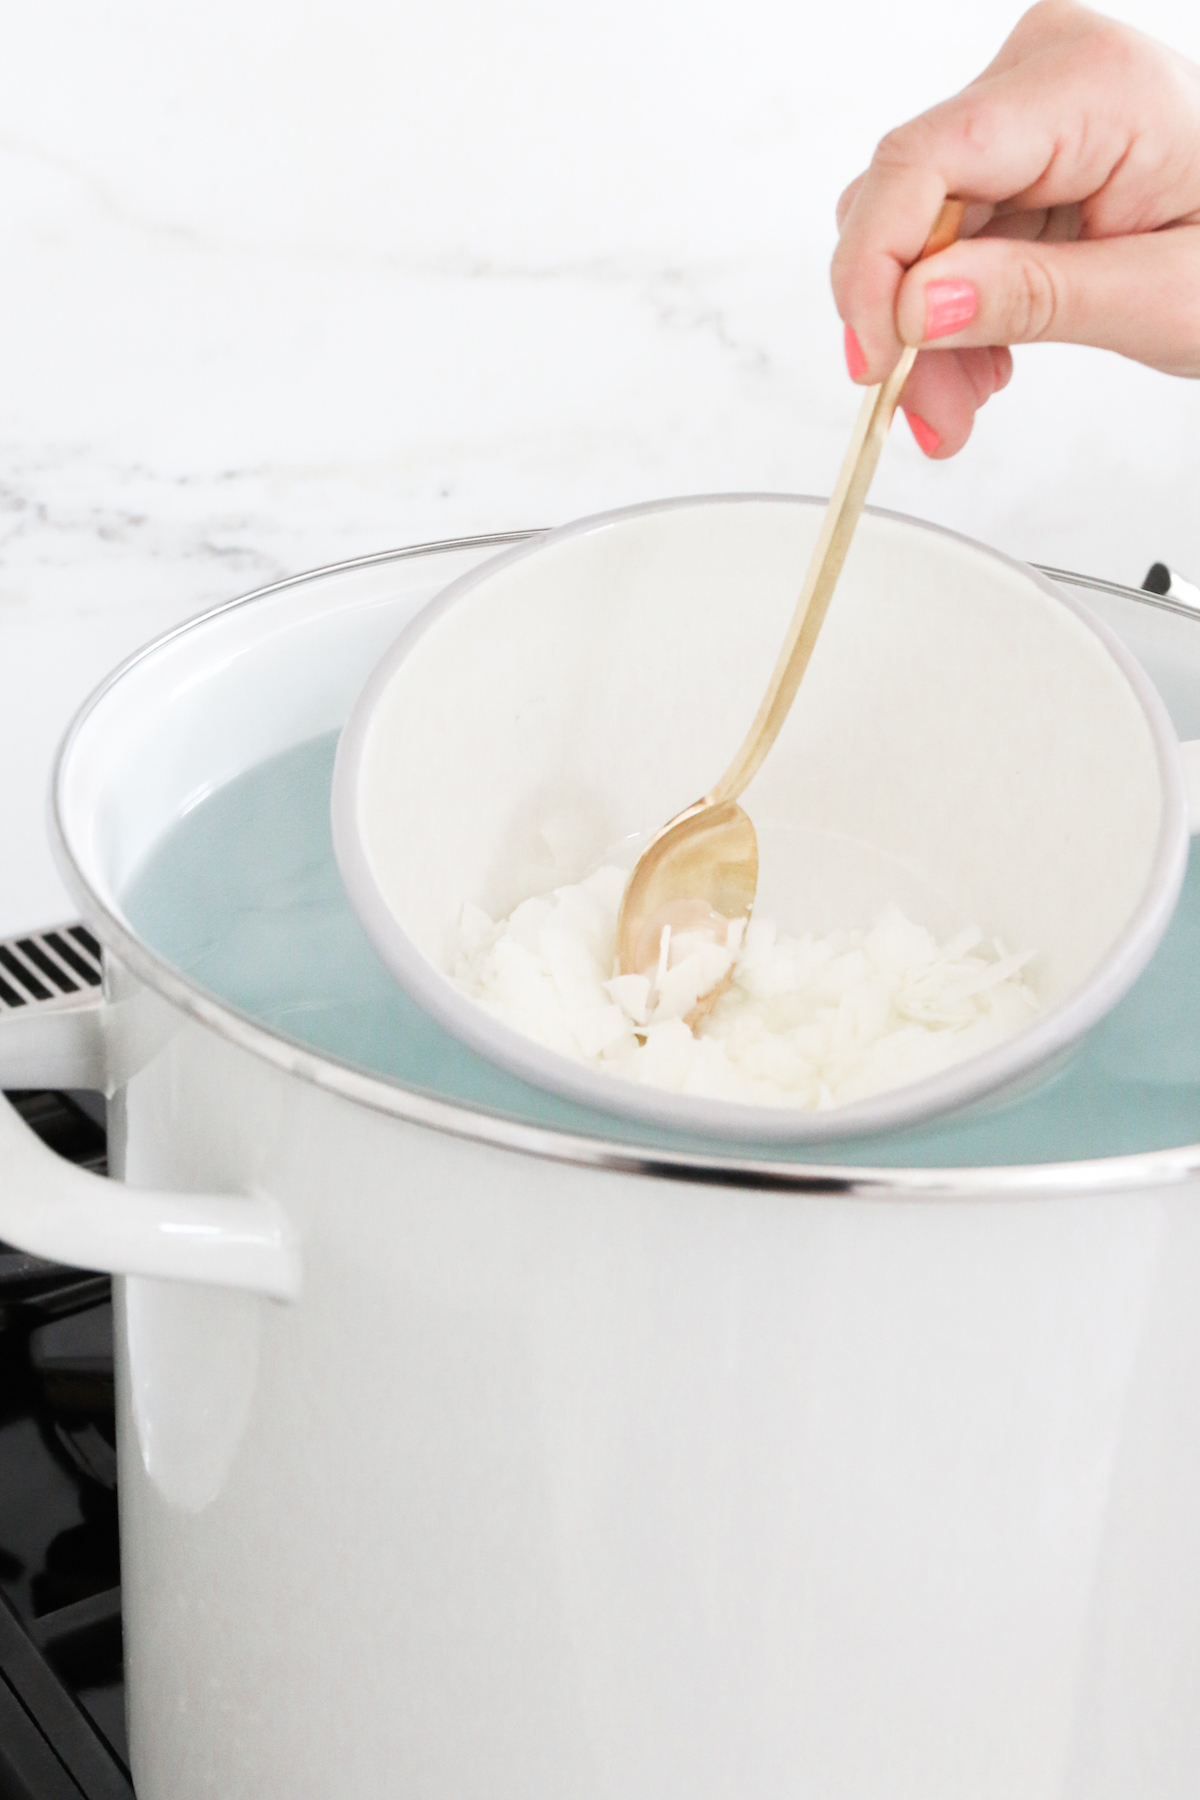
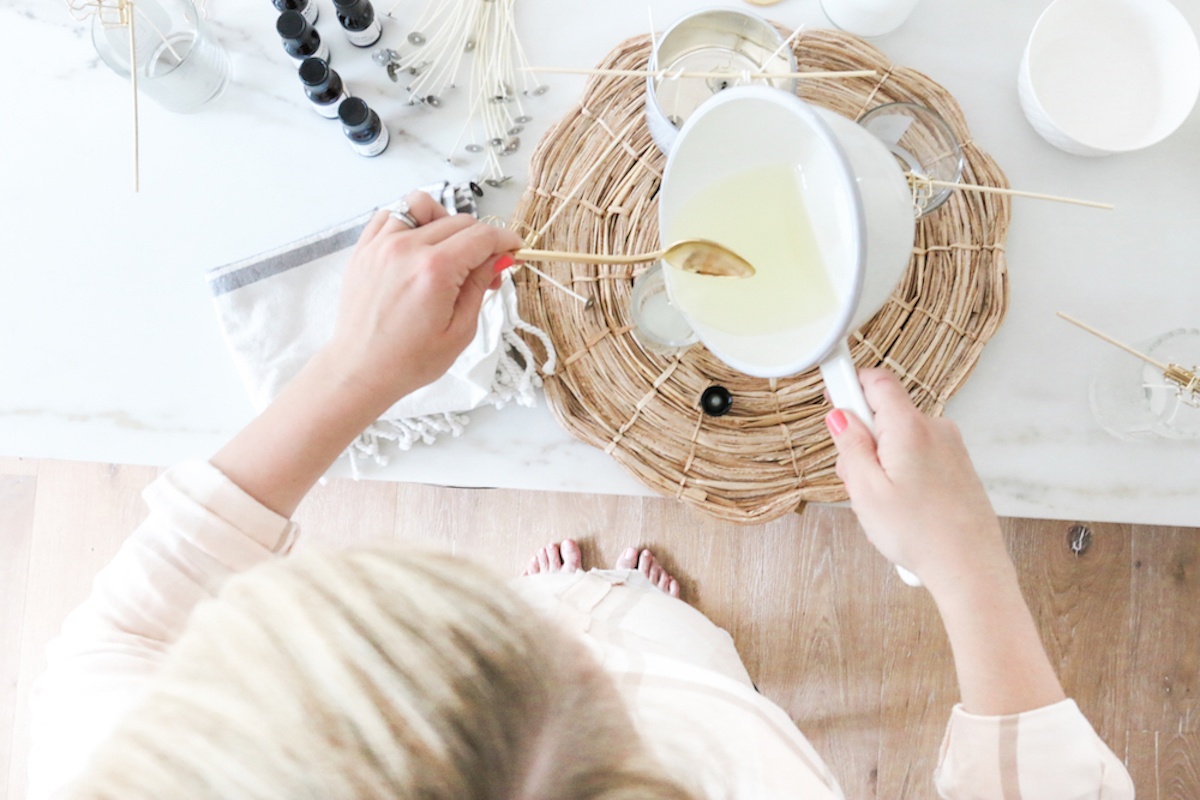
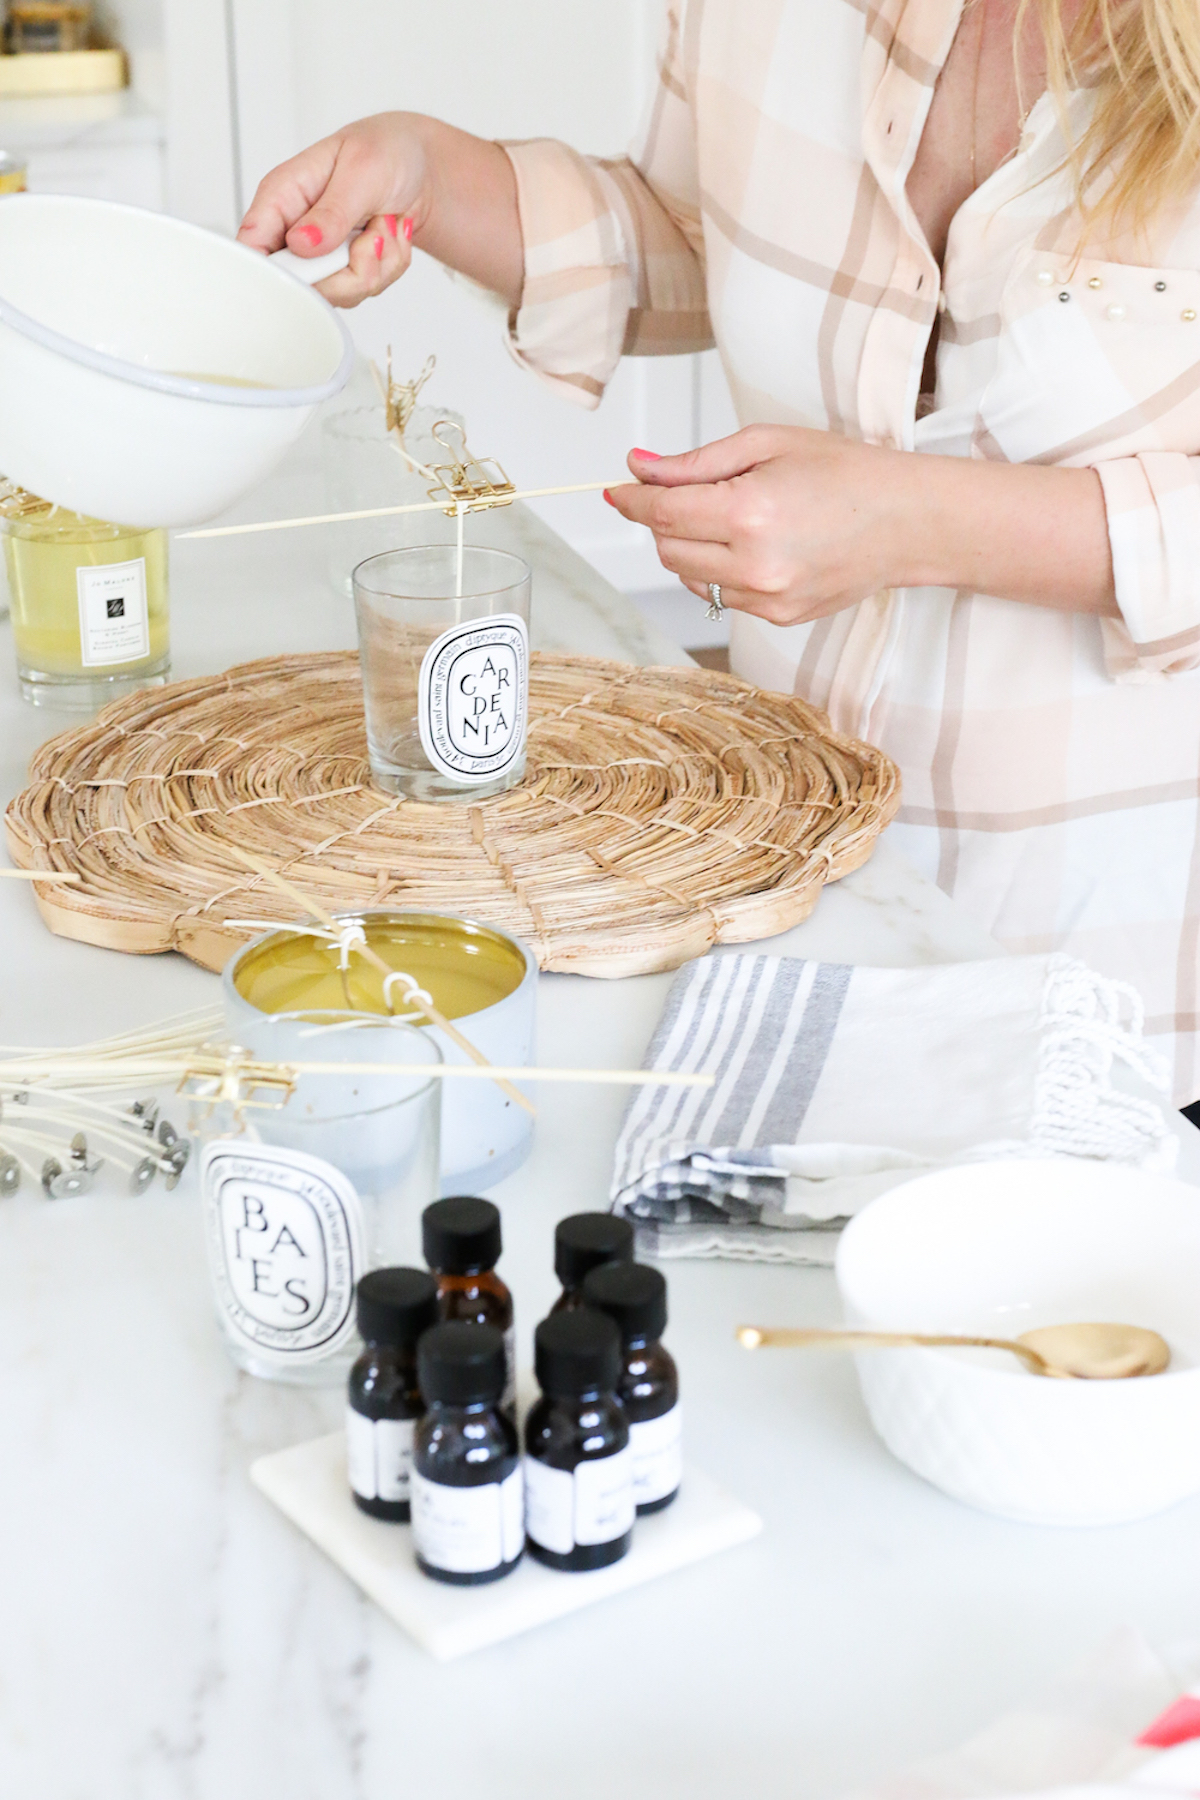
Fill your large pot with water and bring to a boil. Place your sauce pan onto of the water with the flakes of wax. Stir and let your desired amount of wax melt. Keep your eye on it and don’t let the was get too hot to prevent burning. Once melted, remove from water and place your saucepan on a tea-towel beside your empty jar. Make small batched for easy pouring. This is also helpful if you want to make different scented candles. Once you have the wax melted add in your essential oil or fragrance. Stir and pour into your empty candle container. You might need to hold your wick in place for half a minute to help stabilize after you’ve poured the wax.
Step Four
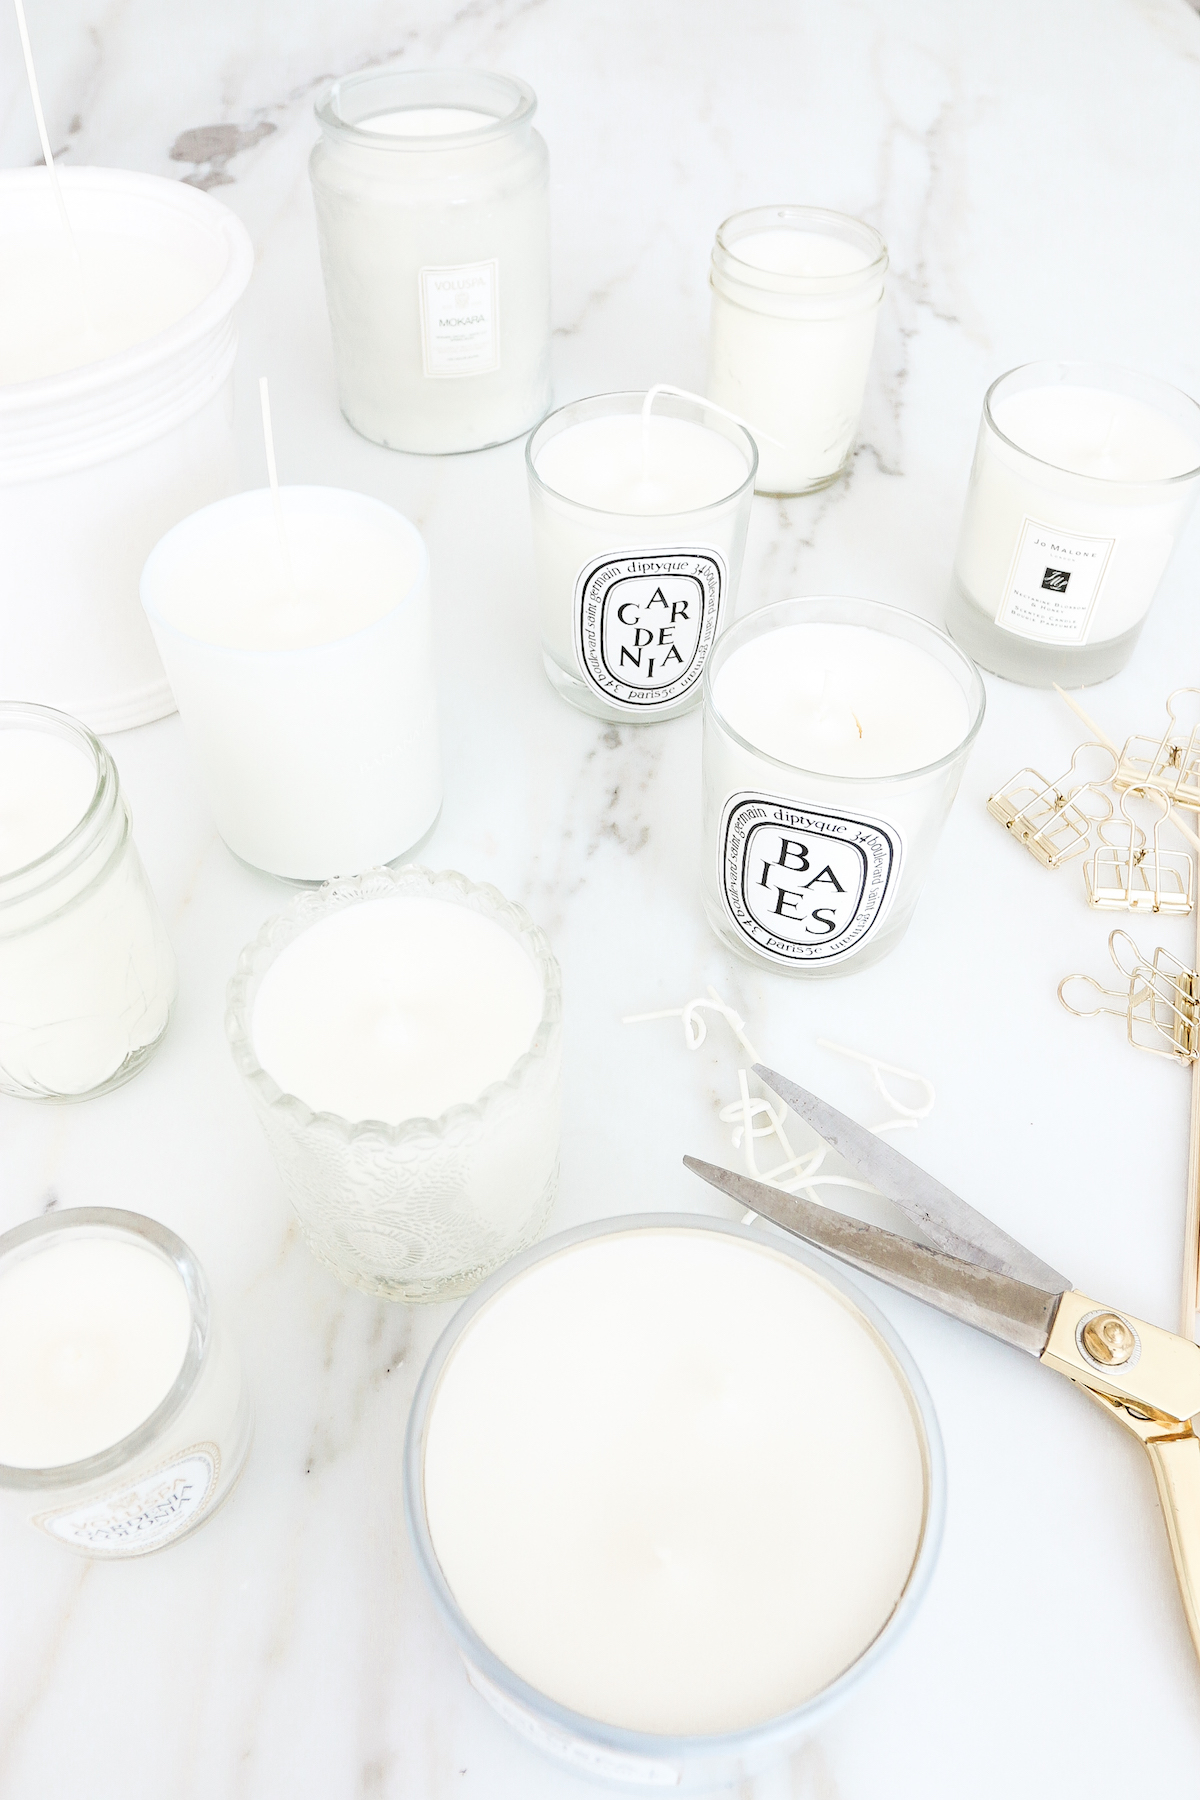
Let your wax harden. This can take up to an hour or two. Leave your candles to settle over night before you cut your wicks. Once you think they are ready, remove your sticks and clips and cut the expenses wicks to a desired short length. Let them sit for 24 hours before burning. Then enjoy!
