


One of the biggest mistakes I see people make is to forgo the prep work when redesigning a website or even launching a new website. With my own design clients—I genuinely want them to take the proper steps prior to ensure they have a site that reflects them and their brand. Especially more so for those who decide to go with customizing one of our website templates on their own. So, to help guide you in that process, I’ve created a mini-guide of the eight things you need to do before creating your website!
P.S. If this is something you want to learn more about I encourage you to join my FREE 5-Day Email Course on how to plan for your new website which pairs with my Website Content Planner HERE!. In the course, I will be elaborating more on the steps below in more detail, along with some other goodies. So feel free to read below and sign up after!
1. Testing & Research
By far the most important and crucial step when getting a new website. Why? Because this could be an eye-opening experience to see what others see, how others move, and what exactly they are searching, clicking, and experiencing.
Testing
You can use Screen Recording Sessions, Heat Maps, and Site Flows to track and see exactly what your visitors are clicking, reading, and when they are exiting. I have tried HOTJAR, FULLSTORY, and SUMO for testing and recommend anyone who currently has a site they plan to re-launch. It’s a great opportunity to get some insight on what you may want to keep or remove on your new site.
Research
This is so huge. They recommend (IN THIS BOOK) to do your research first before even thinking to design or develop a site. Why? Because you’ll truly understand who your ideal visitor is, what problems they are looking to solve, what terms they might be searching, and even why they left your site. You can use Interviews (from past clients and customers), you can use a website feedback button for visitors to easily send you issues or rate the experience, or you can create polls and surveys to help you really understand why people are visiting your site.
2. Create Your Visitor Avatar
You may have heard the word ‘avatar’ before, but basically when it comes to websites that is your ‘ideal’ client or customer profile. By creating this detailed avatar it will help you stay focus on who you are trying to serve on your website. So as you move into the next steps, you’ll be able to stay on track. So, think about what they do, where they spend their time online, what their struggles are, etc..
3. The Flow & Pages
This is basically creating a wireframe and overview of what pages you will have on your site and what to include within each. When I was doing this for my Design Shop, I truly had to think about what I wanted the Navigation to be and the best way to layout each ‘section’ of my shop without making it too confusing.
It helps to list out all of your pages you need, then in order (and based on your research above) prioritize the pages on what is most important. Keep in mind that the navigation is crucial to keep simple and really needs to include what you can do for them (services) who you are (about) ways you can help build trust (blog and testimonials) and how they can reach you (contact).
4. The Message & Story
Point blank, are you clearly showing your ideal client and customer how you’ll guide them to solve their problem? TIP: The first thing they should read on your site is not necessarily your product or service, but establishing a connection with them letting them know you understand their struggle…then sharing with them on how you can help (with your product or service).
5. Establish Your Keywords & Terms
With the previous steps, it’s important to pull those keywords and terms that keep popping up. From your research phase and your ideal client or customer avatar…what words and phrases work with your message? Try to understand and establish a group of keywords and possible terms that you can use to not only connect with your visitor but use in your site content and your SEO for them to find you.
6. Understand Your Brand Style
As you know, a good website typically has an established brand style. That means there aren’t 5 different bright colors everywhere, 8 different font styles, and a random mix of images. To help play into your message and your overall story it’s key to establish (prior to even designing a site or buying a template theme) your color palette, fonts, and brand style.
Simply keep in mind that you should narrow down a simple color palette (2 main colors, 2 neutrals), 2-3 fonts for your site, and of course, consistent and branded images help.
Need a bit of help in the process? Use my Brand Style Workbook to get the process started! Below are a few more helpful resources:
HOW TO CREATE A COLOR PALETTE HERE
HOW TO FIND FONTS THAT REFLECT YOUR STYLE
HOW YOUR FONTS CAN ATTRACT YOUR IDEAL CLIENT
7. Create Your Content
This is obvious, but please, please create your content before you hire a designer and even before implementing and customizing a theme. I’ve had this happen to me so much with past clients where they just re-use old content for their service or about page..in which I design it around, to find out they didn’t put the time in to make it work for them (or their avatar) and end up needing to re-design down the road.
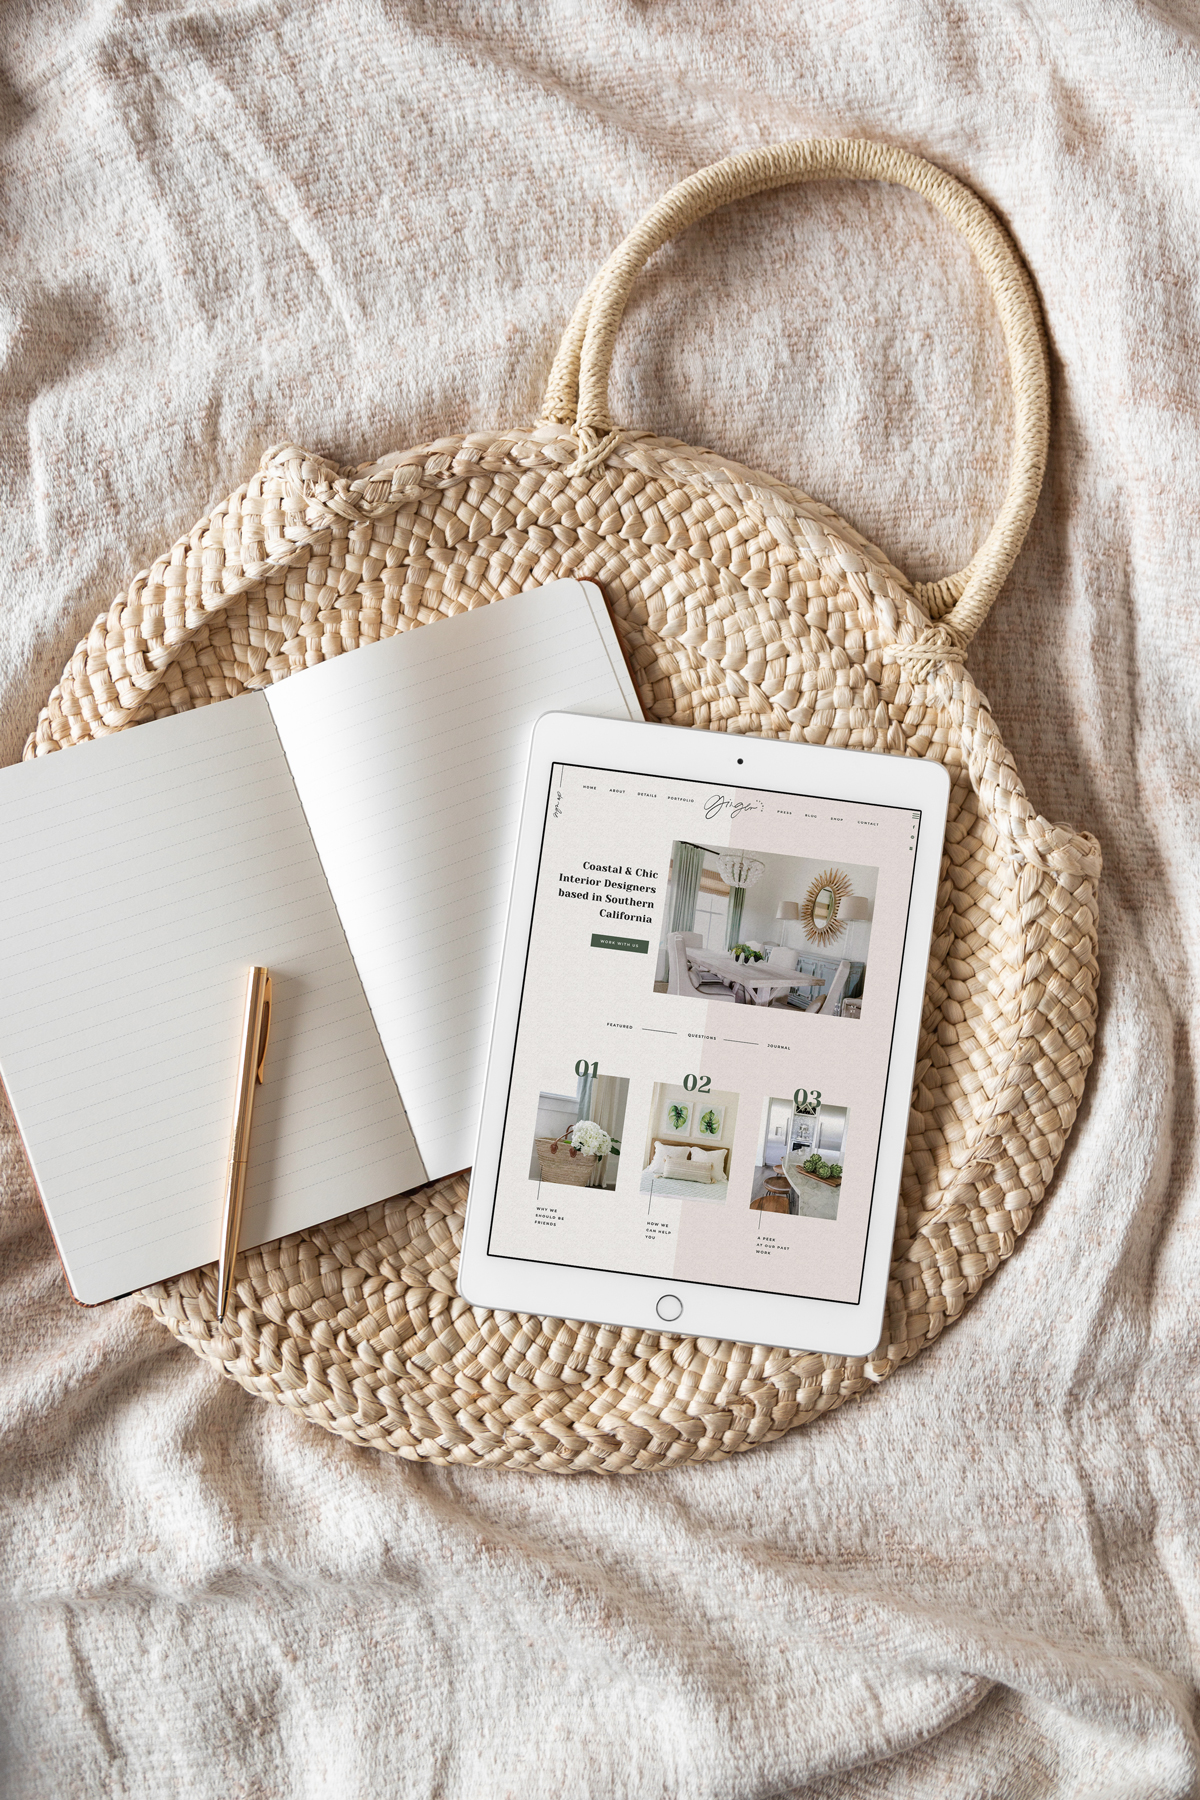
To get started you can use my super-detailed and guided WEBSITE CONTENT PLANNER that really dives into a lot of these points. HAVEN Founder, Melissa Baran, used this same exact planner when we worked together to redesign the site you’re on right now!
8. Prep for Transfer
That means, make sure you have your domain info (user/login), your hosting info (if different) and where your emails are hosted (which could be different too). Do a full back -up of your old site or emails if you have to. Basically, if you plan to move hosting companies and have your emails on theirs, chances are you will have a bit of a downtime when transferring. Along with that, if you change your domain, make sure to setup the correct 301 re-directs so ppl are not being sent to a 404 or bad page.
P.S. I was previously hosting with HostGator (emails too but had an alias through Gmail), and had my domain at GoDaddy. When I moved to Showit they did the entire hosting transfer for me BUT, let me know I would have to either pay Hostgator to keep my email hosting or hop on over to Gsuite (which I did). I didn’t really have any downtime at all!
Love what you see? Take a peek at the talent behind the story… Website Templates: Saffron Avenue x HAVEN · Featured Image: Studio McGee Office by Lucy Call


